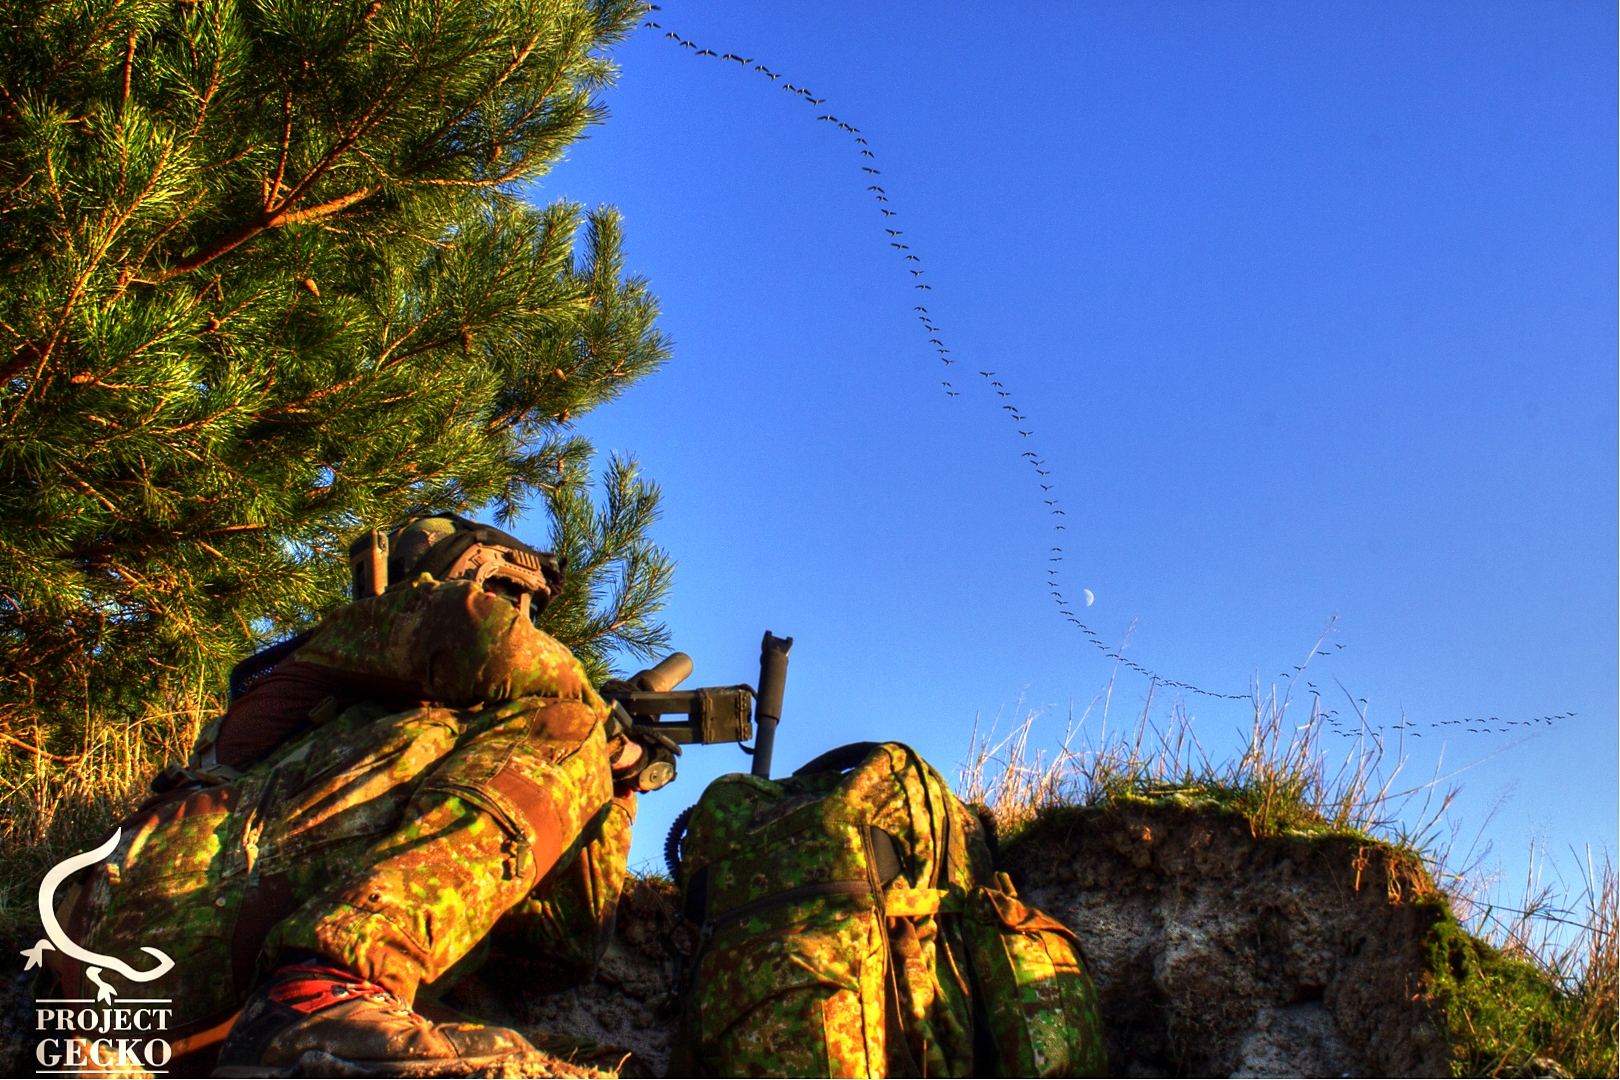

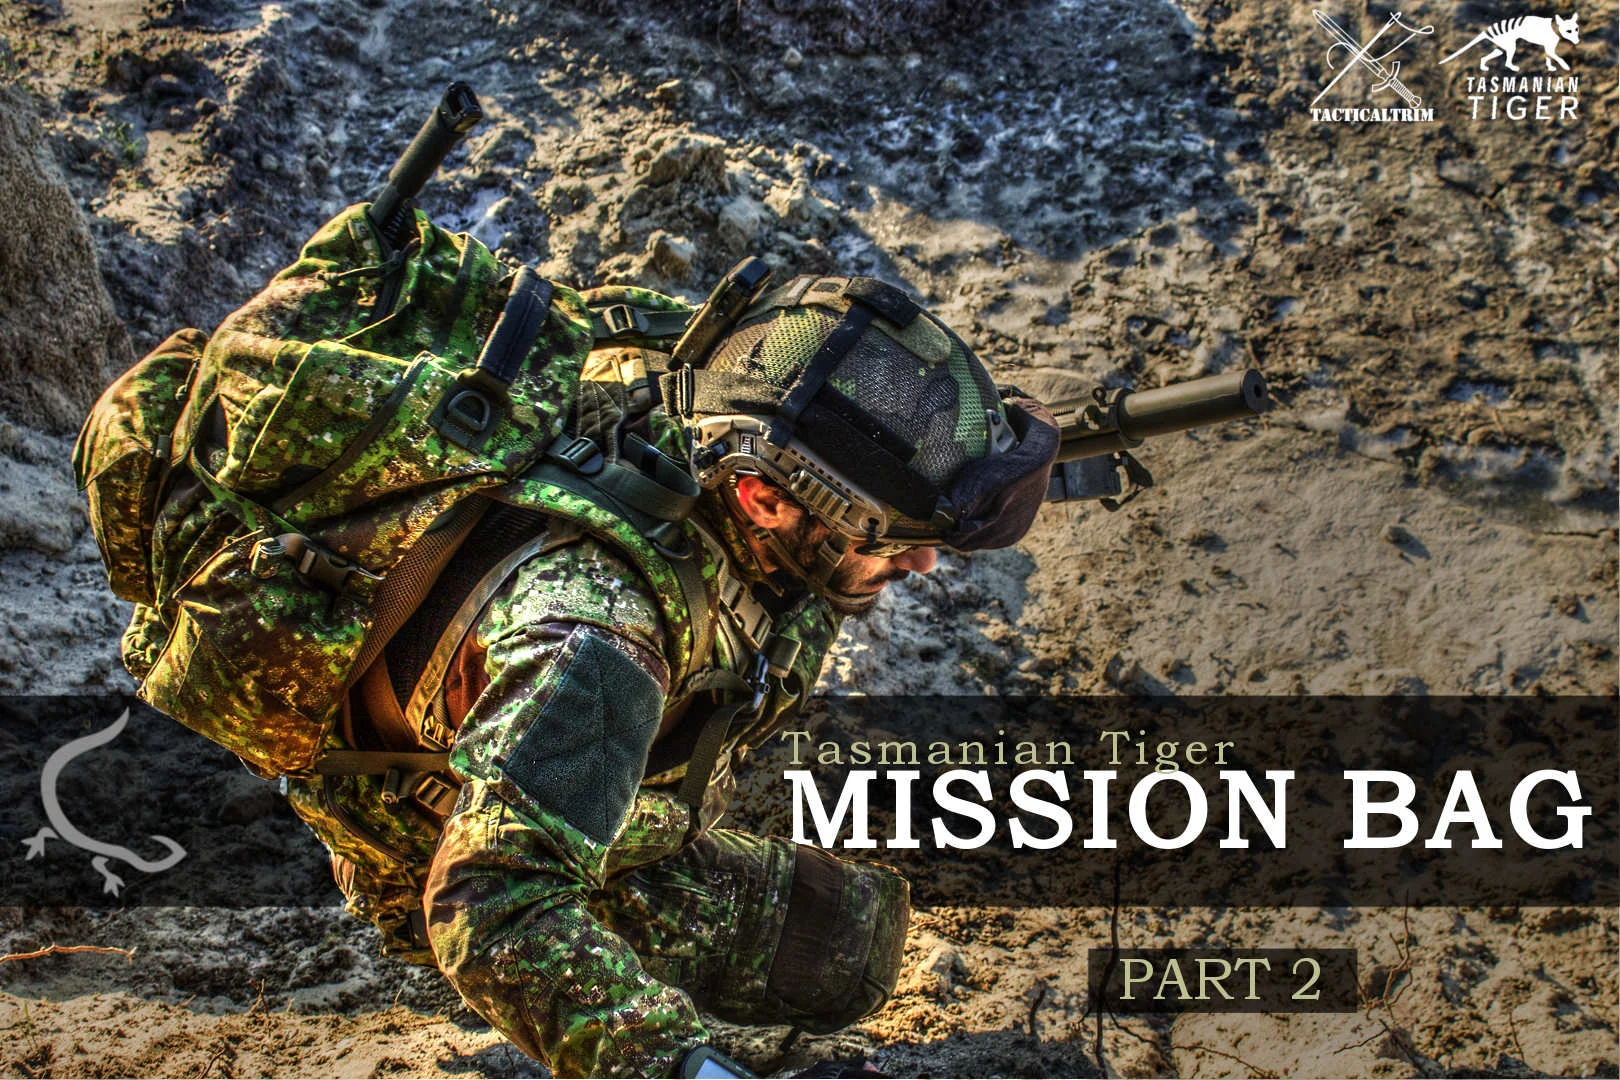

Welcome to our 2nd part in the on going review series of the Tasmanian Tiger Mission bag in Pencott camo application. This review is brought to you by Project Gecko in full cooperation with TacticalTrim & Tasmanian Tiger. The review will focus mostly on the carrying capability & internal design of the TT mission bag.
Enjoy reading !
Compartments & partitions

Internal
Let´s continue where we stopped, the internal compartments.
The internal compartments are nothing less than outstanding. Great craftsmanship and sewing work. TT also did a great job by utilizing empty space into an efficient space. Let's check it out.
The main compartment
Measures : external - 55 x 30 x 15 inch.
“Well played Tasmanian tiger.” That was the first sentence after I inspected both main and Secondary compartments
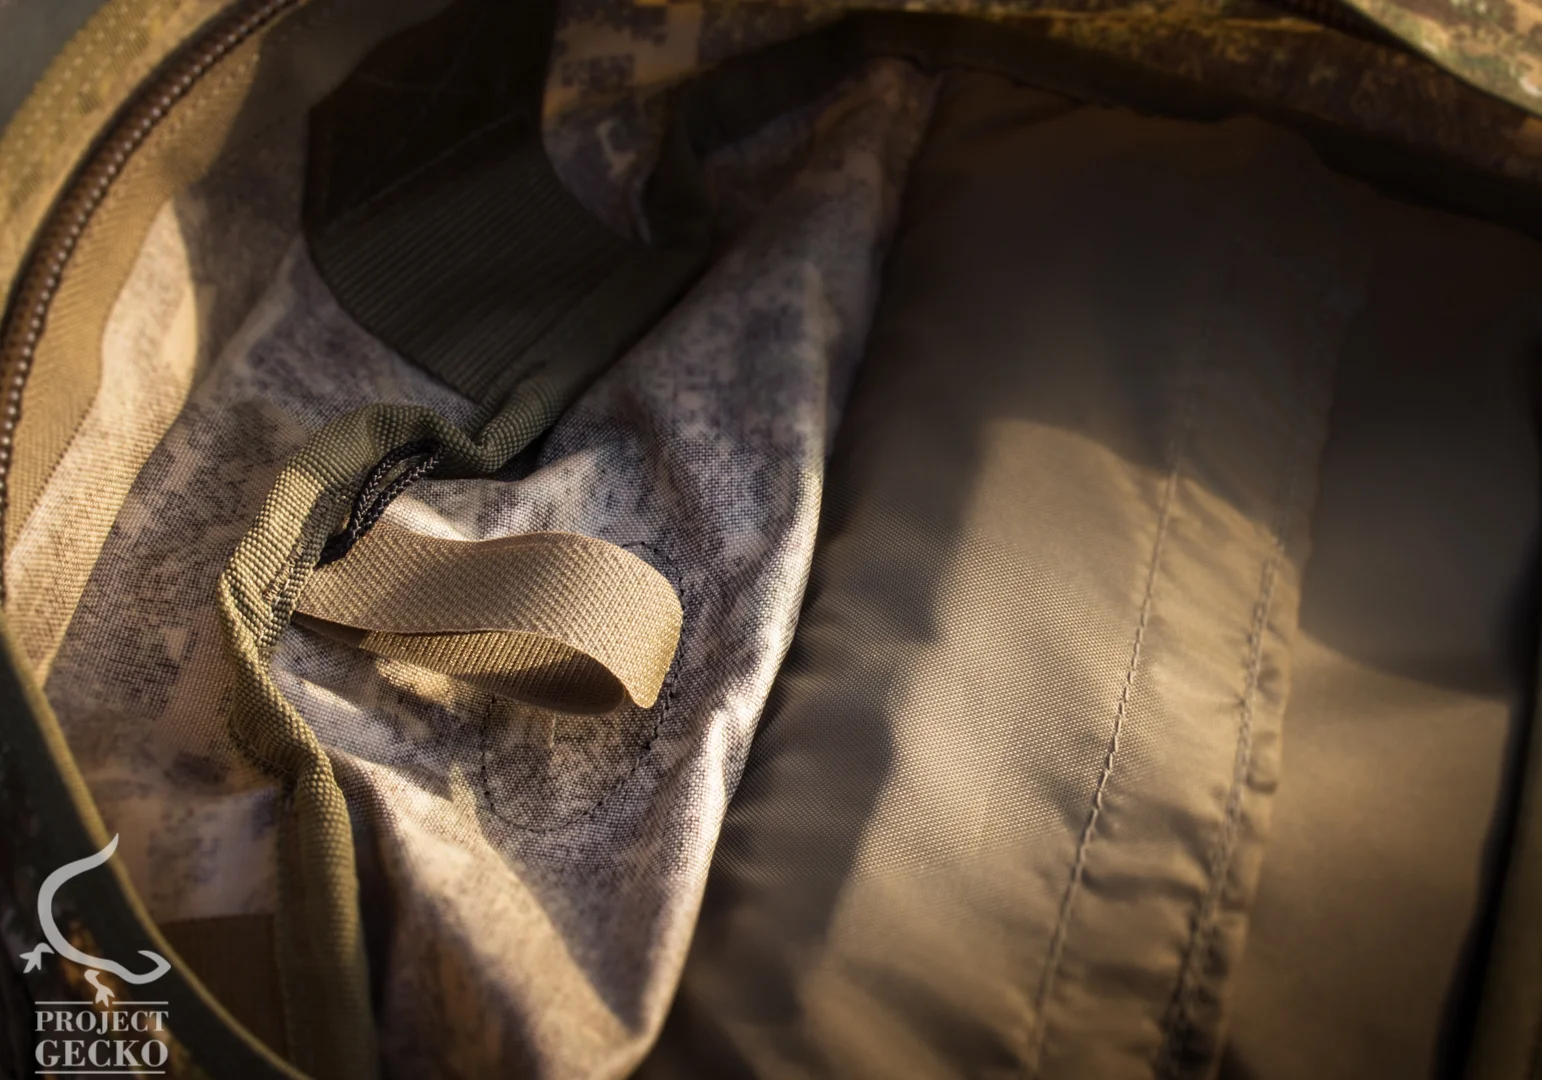
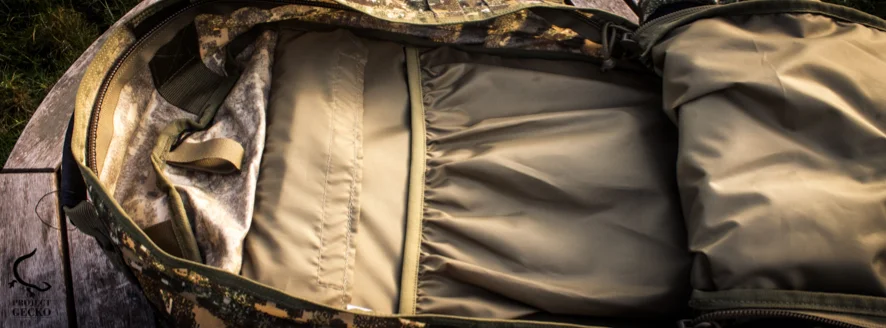
Well the main compartment is pretty much the core and center of the backpack. While designated for the heavy stuff, this compartment contains 2 partitions. Both offer a wide storage capability and most simple access. At the top of the compartment there’s a vertical Velcro loop which allows the user to secure specific items (antennas, tubes, wires, etc).
Packing a backpack requires experience and practice, seriously. Without getting too much into the idea of how to pack up and divide the weight in the right way so you could avoid pain and sustain longer the weight, it is highly important to concentrate all of the heavy weight items at the center of the backpack, close as possible to the back system.
Since most heavy objects are also big (PRC's, optic devices, ammo packs, etc) it would make more sense to design the main compartment big and “free” as possible.
Main partition
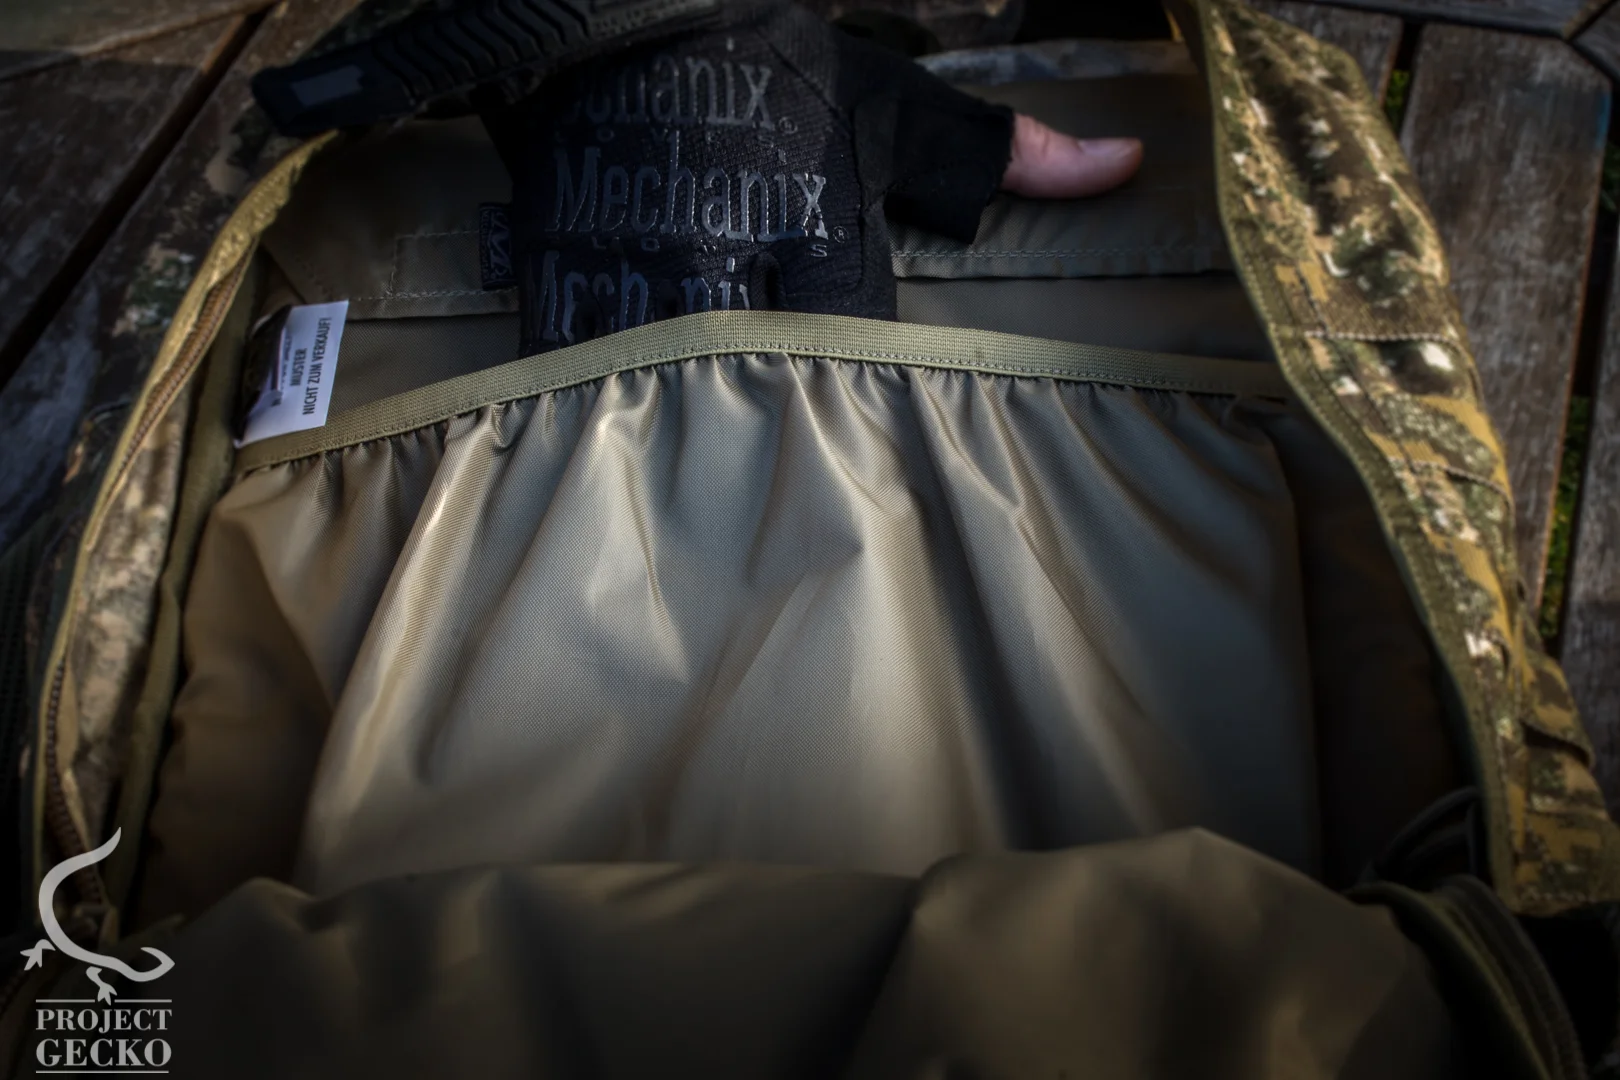
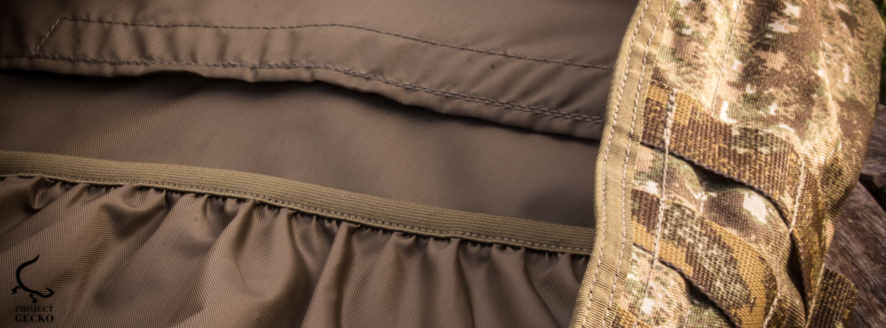
A simple partition with an elastic band on the top. Ideal for maps, documents, notebooks and other thin materials. Thanks to the elastic band on the top – it is easier than ever to prevent your items from mixing up with other pieces of equipment.
Secondary partition
Traditional compartment which is closed by a zipper. This compartment has no specific designation, but I would recommend to use it as a storage for MRE's \ Food packs or secondary hydration bag. On the other hand I would really recommend to pack it up with Medium - heavy weight items rather than the lightest.
Second compartment
Measures: external 55 x 30 x 15 cm
As mentioned above, the heavy – the bigger. So after we stored all of the heavy stuff in the center aka the main compartment of the backpack – what's up with the secondary? Do not underestimate the word secondary. While the secondary compartment might sound less important, it´s holding a great storage capability and most import – efficiency.
The secondary compartment contains 3 open partitions. While only one of those has an elastic band closing the partition, those partitions deliver a great efficiency towards an organized storage and most medium sized equipment (even bigger).
The secondary compartment contains 4 (!) access ports. Those ports have an elliptical shape and allow the passage of antennas, hydration tubes, CO2 tubes or any other power cables for optic devices. While the 2 ports on the top are nothing rare in today packs, the lower ones are, at least in my eyes.
And I love it. It gives the end user a more flexible decision towards “designing” his storage, and how he wants to utilize it. Those ports are also great for CO2 tubes or extended battery cables which are often used for advance optic equipment. With that being said, it is great to see such a level of detail.
On the top of the secondary compartment there is a horizontal Velcro loop, which could be a great assistance towards securing \ organizing antennas and tubers.
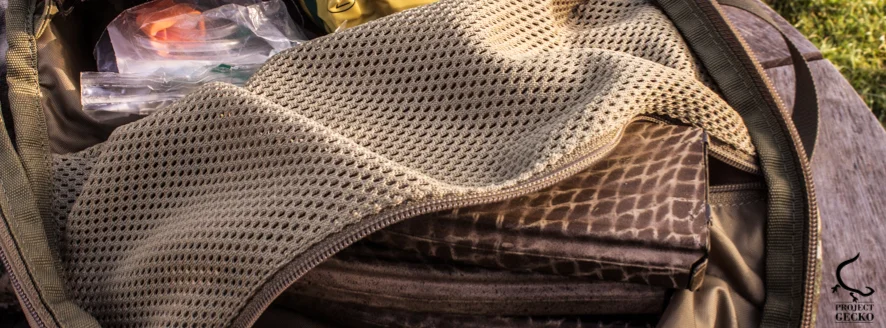
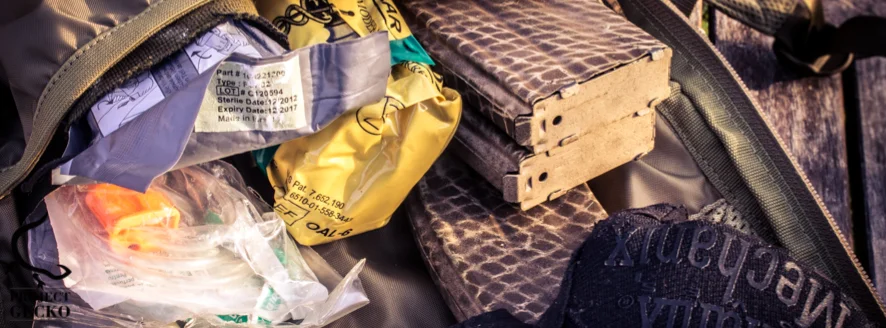
Nett partition
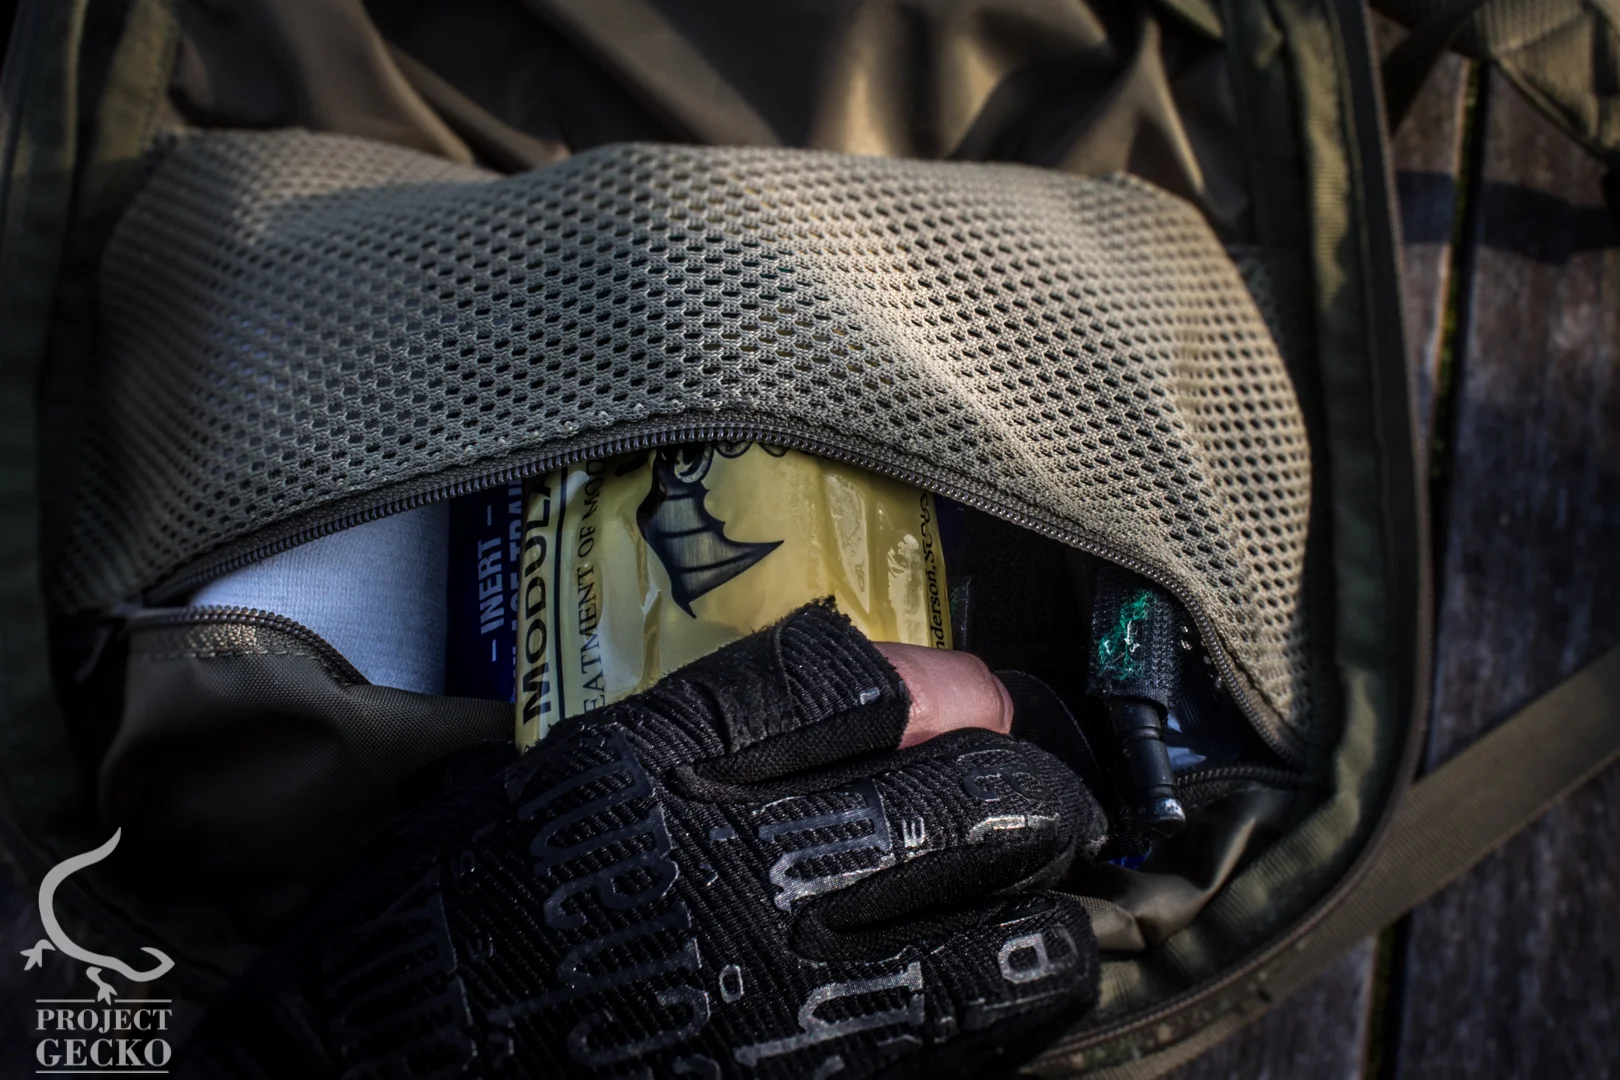
The advantage – visibility
Thanks for the mesh fabric where the end user can see into this compartment. With this being said, it offers a great advantage towards stressful situations, where you need to find something fast. This partition is closed by a horizontal zipper.
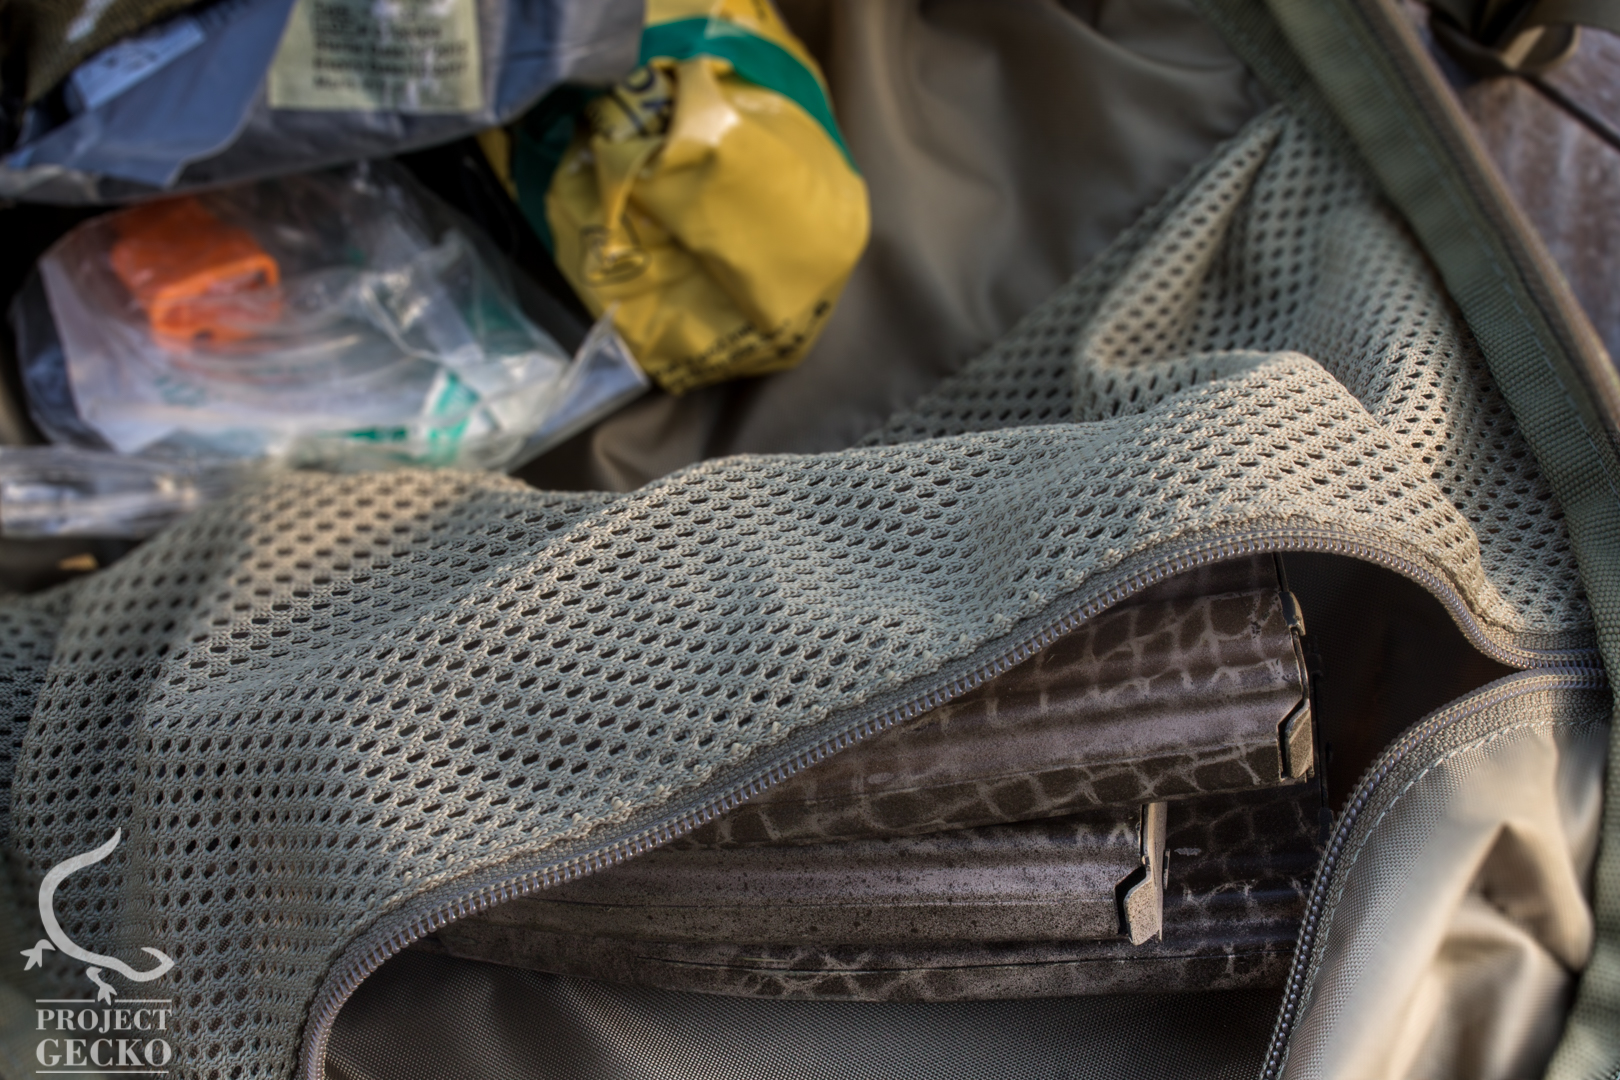
I would recommend to store anything that has to do with the word medical. From secondary Tqs to trauma kits or IV's. Why? Because under low-light or stressful conditions it would be :
1. Easier to recognize the pocket by touch (mesh material)
2.Visibility (Mesh fabric)
3.Easy to access (even with gloves)
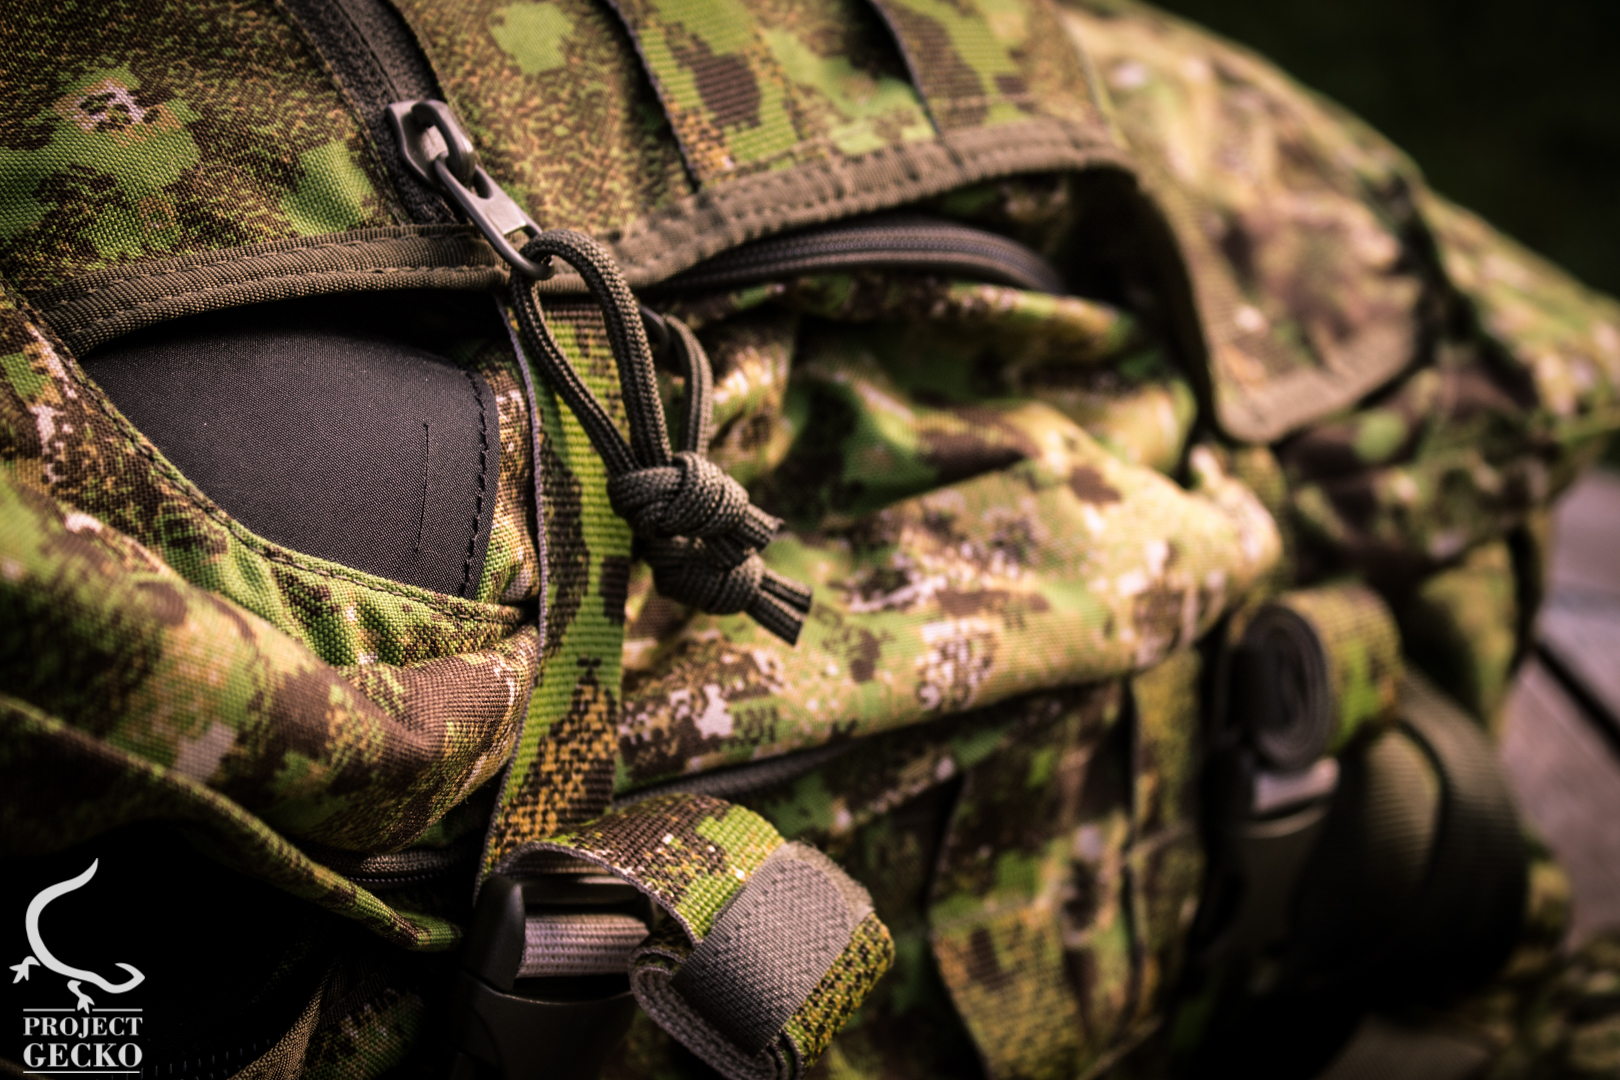
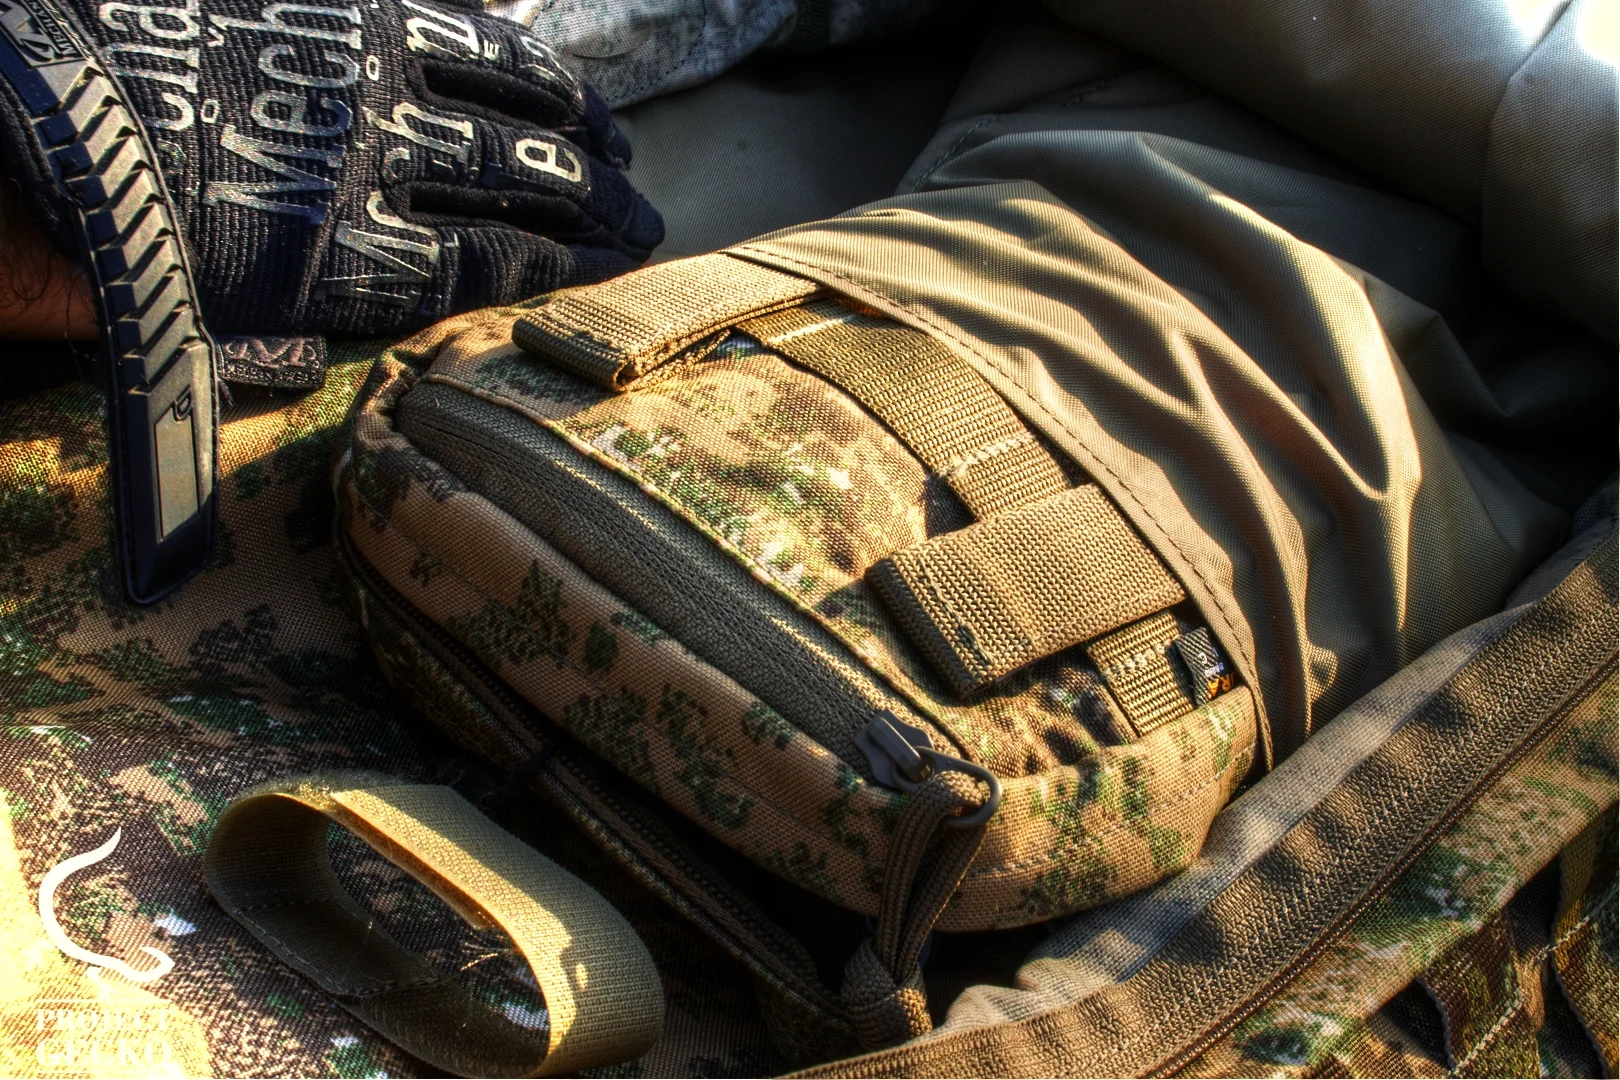
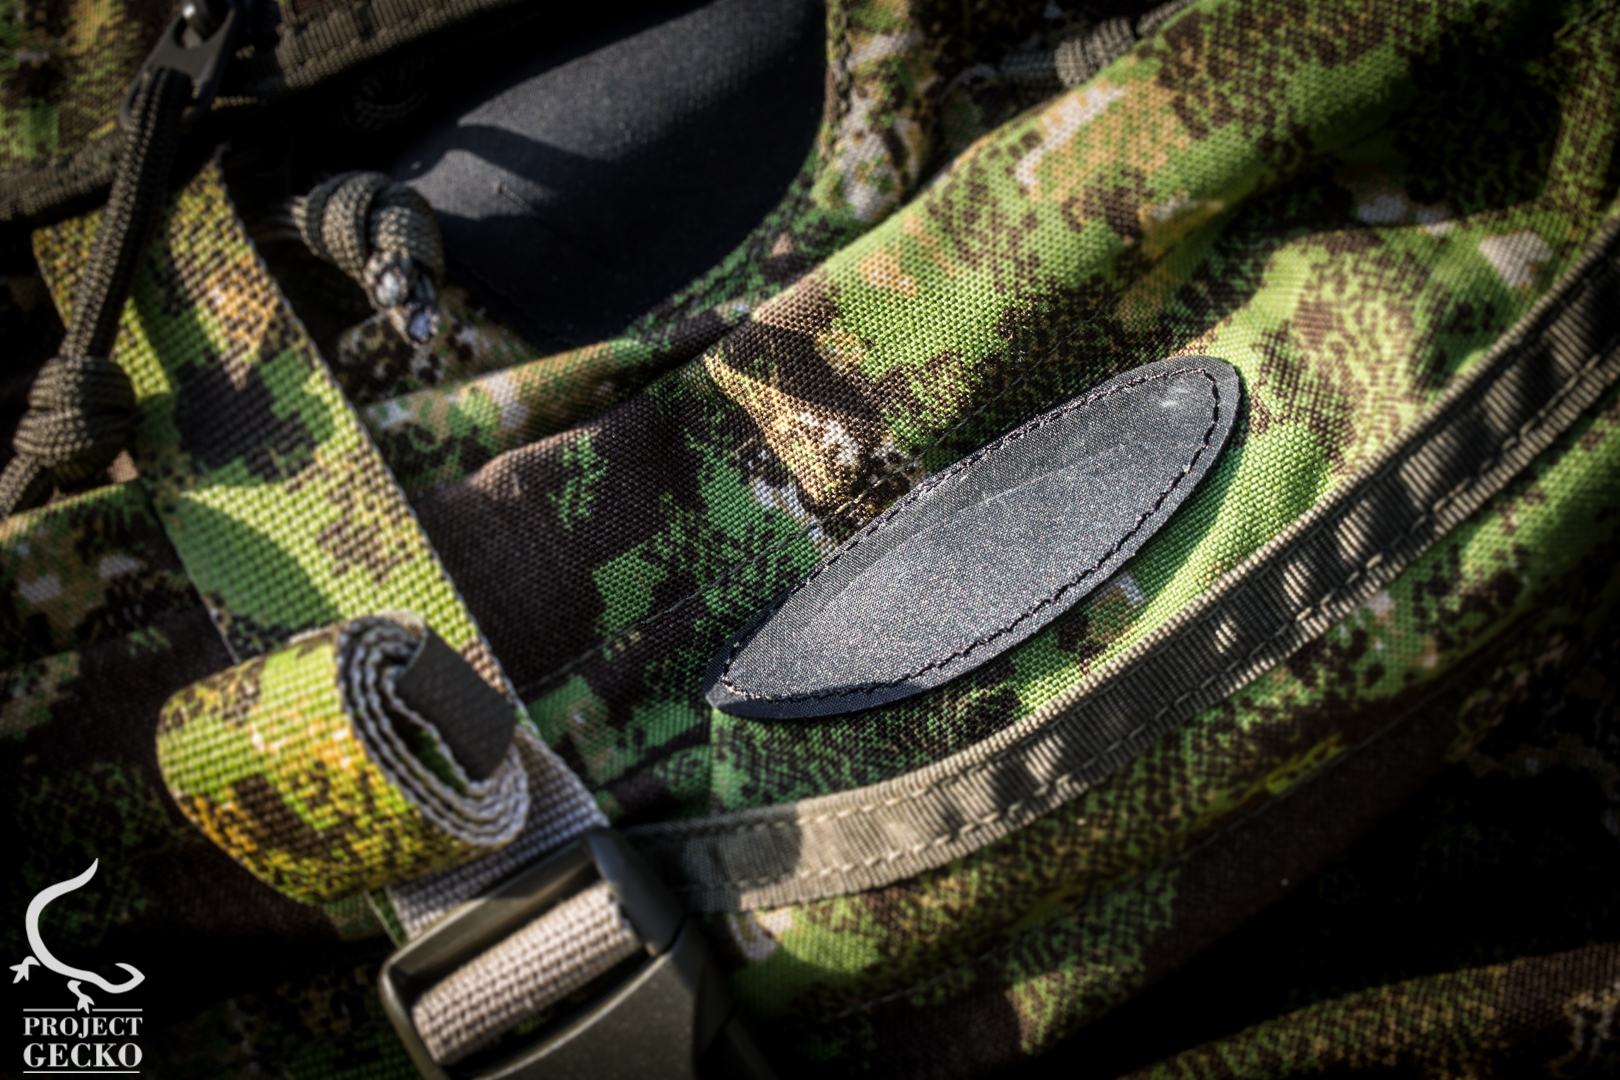
External compartment
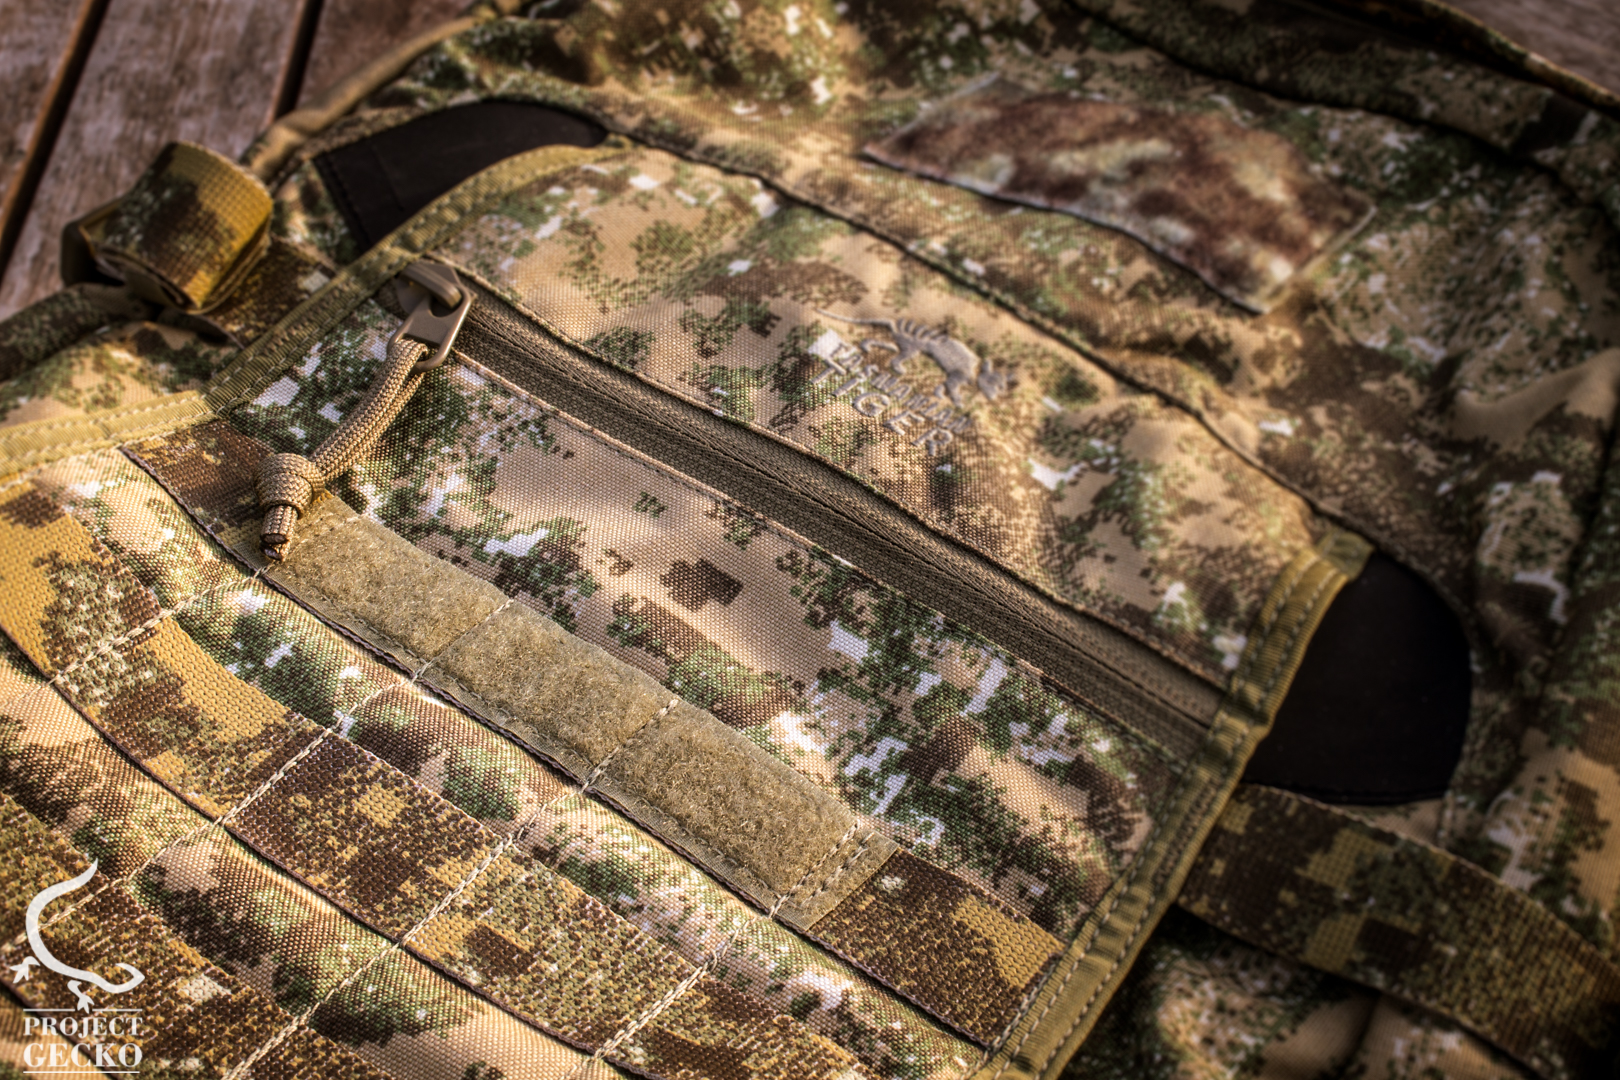
Design.
In terms of design the external compartment is quite different from the common “tactical” backpacks you would see on the market. The external compartment also offers a strategically placed for MOLLE pouches.
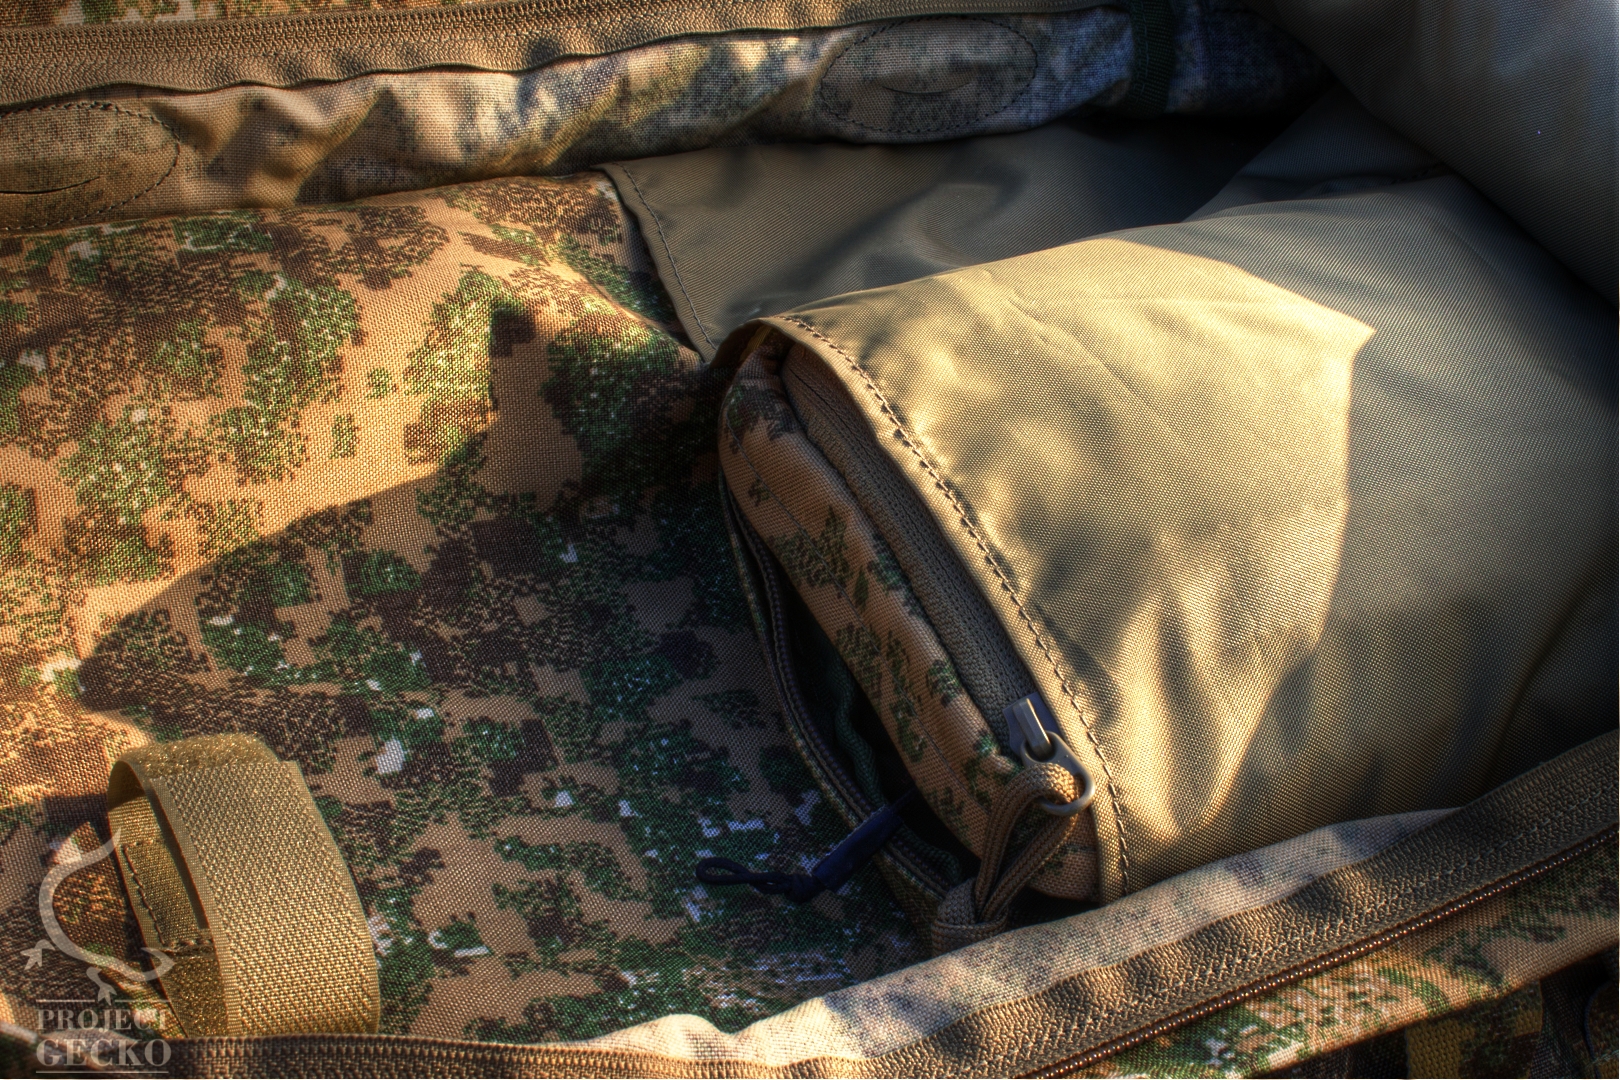
Compartments \ Loading capability
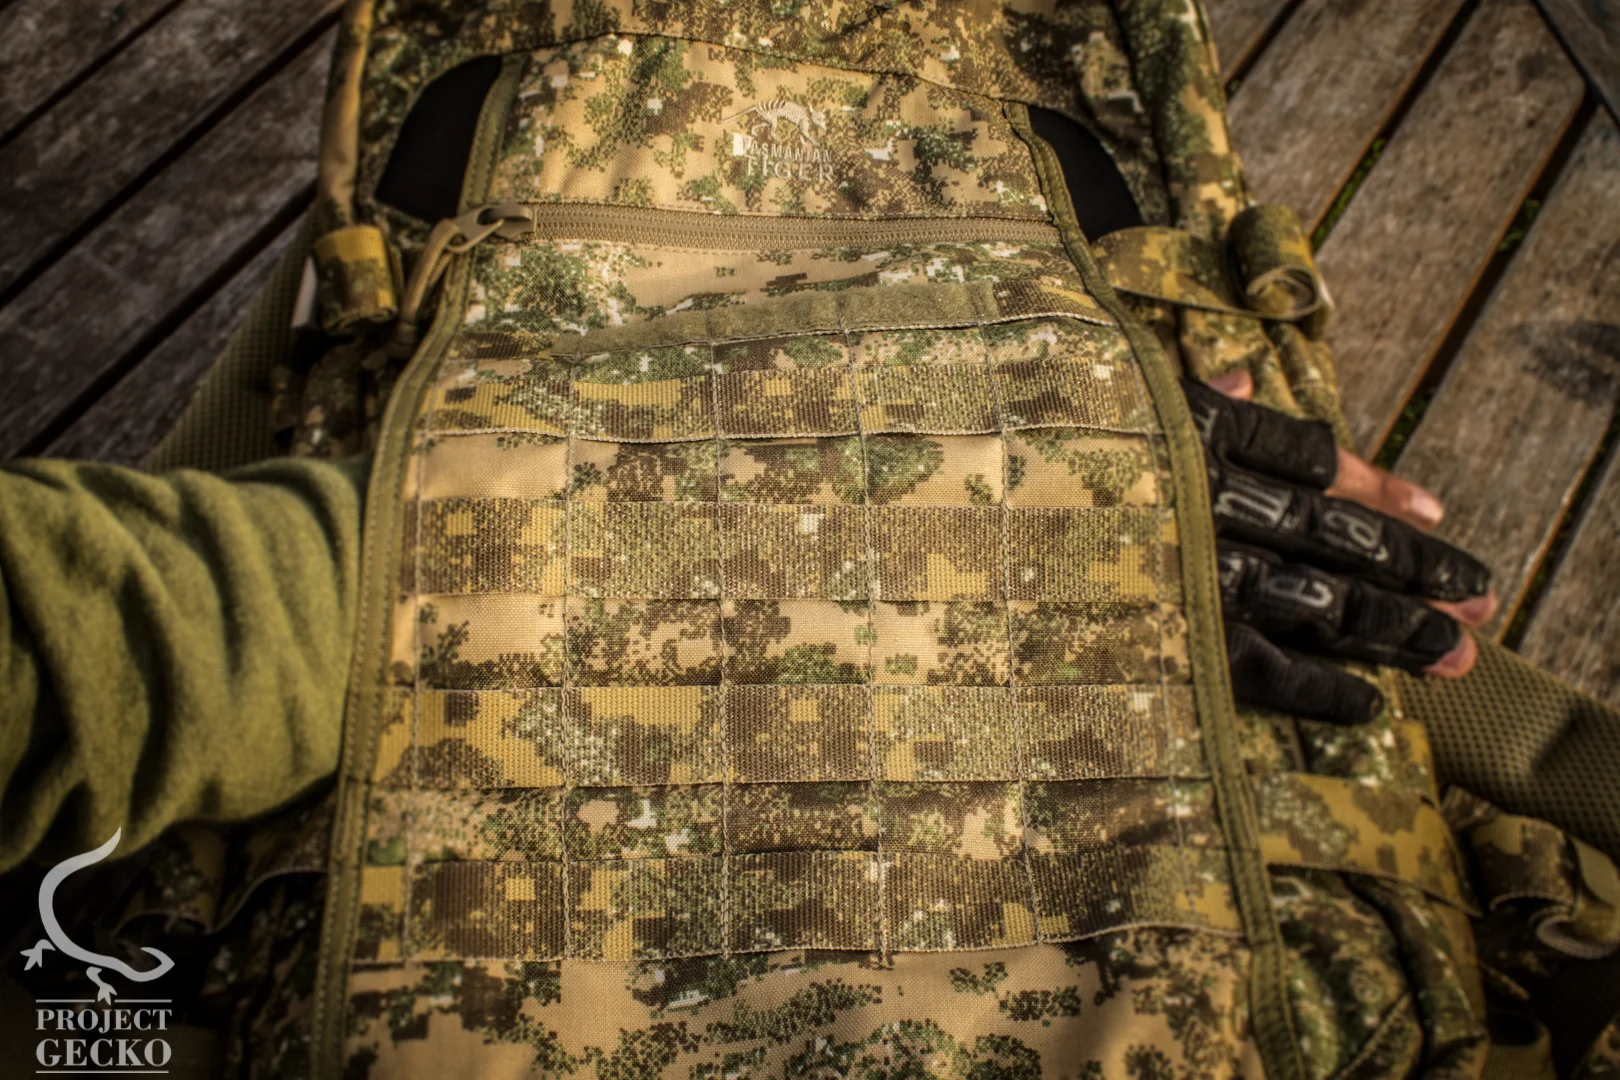
The External compartment is actually divided into two sub compartments. While the only thing that separates between those pouches is an mesh fabric, those pouches offer an efficient access and easy locating under stress or darkness.
The external compartments are originally designed for hydration bags and other stuff which should be in immediate reach. I personally find it really comfortable for storing small items such as thermal shirts, maps, food or IFAKs (assuming its ain´t on you)
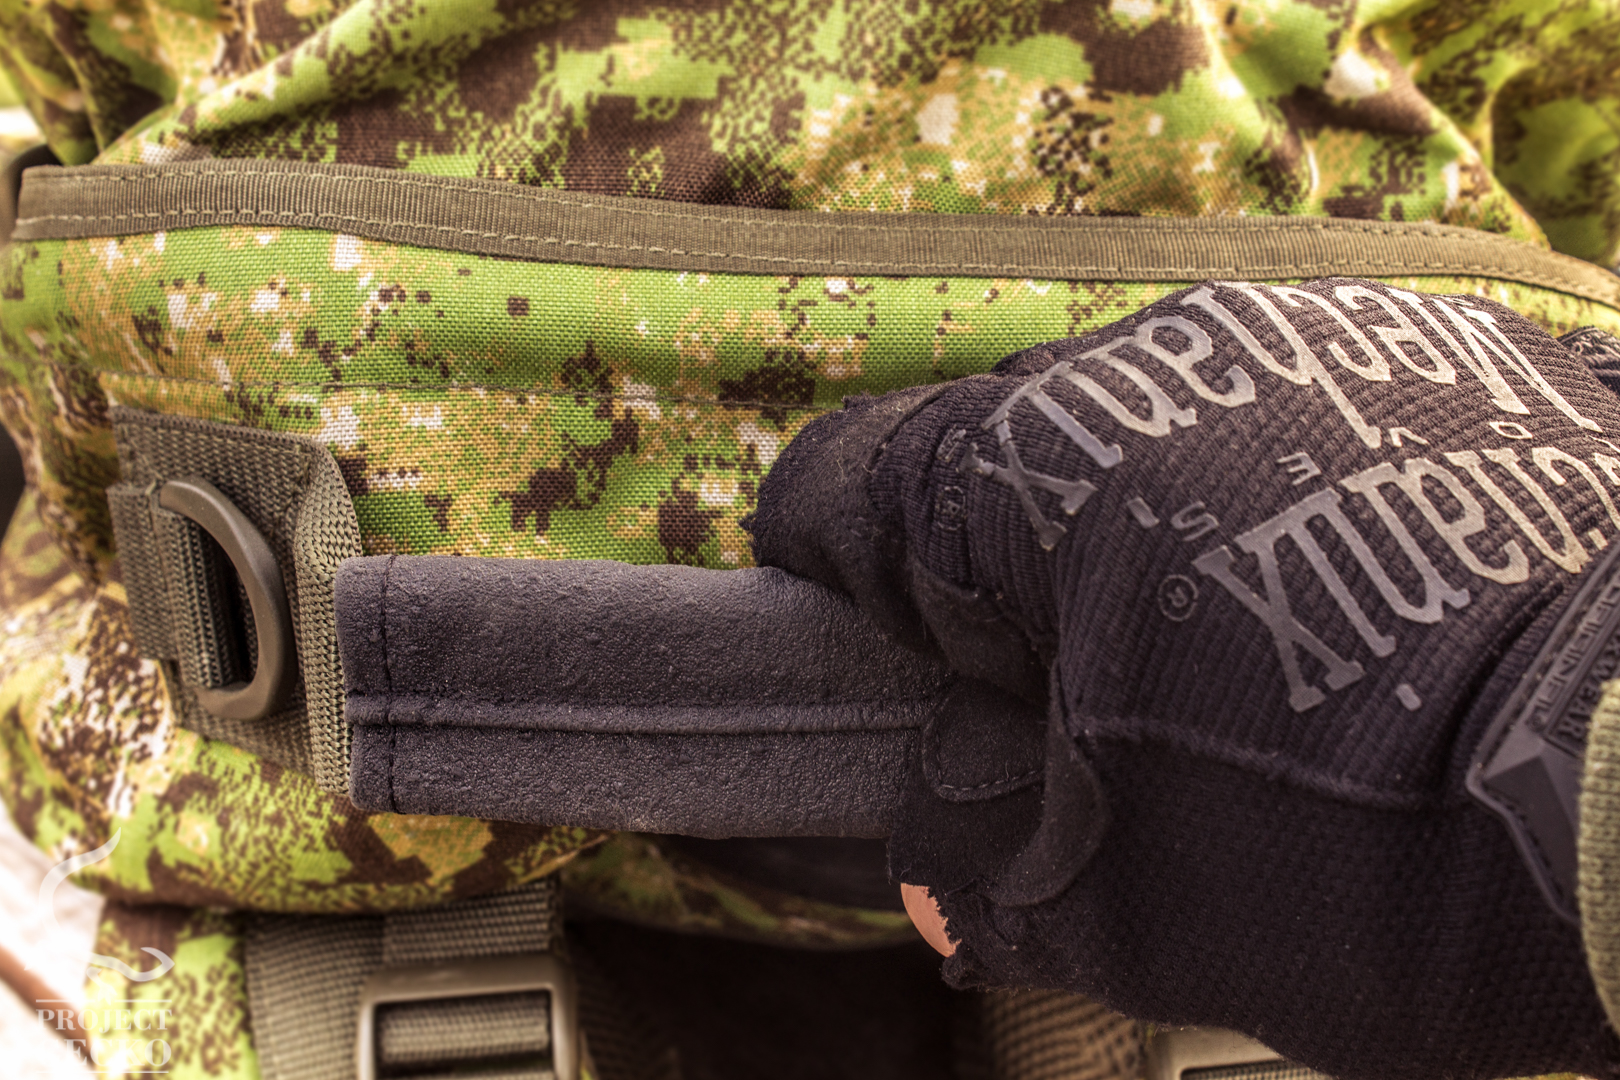
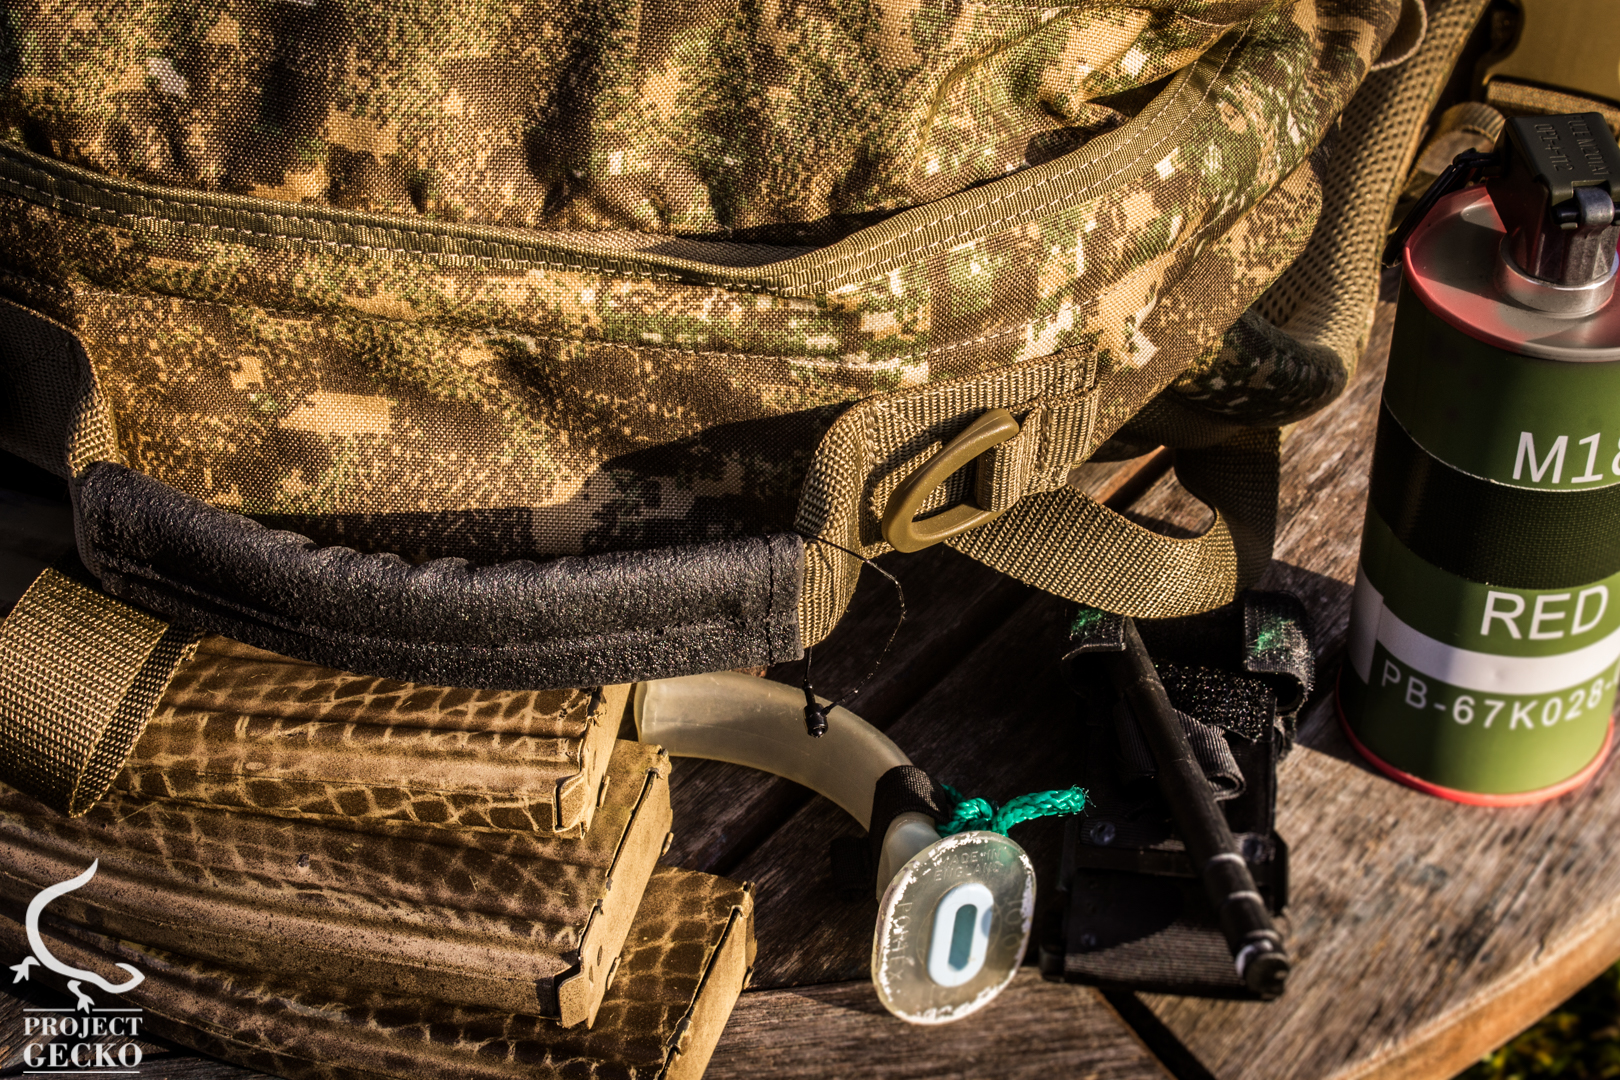
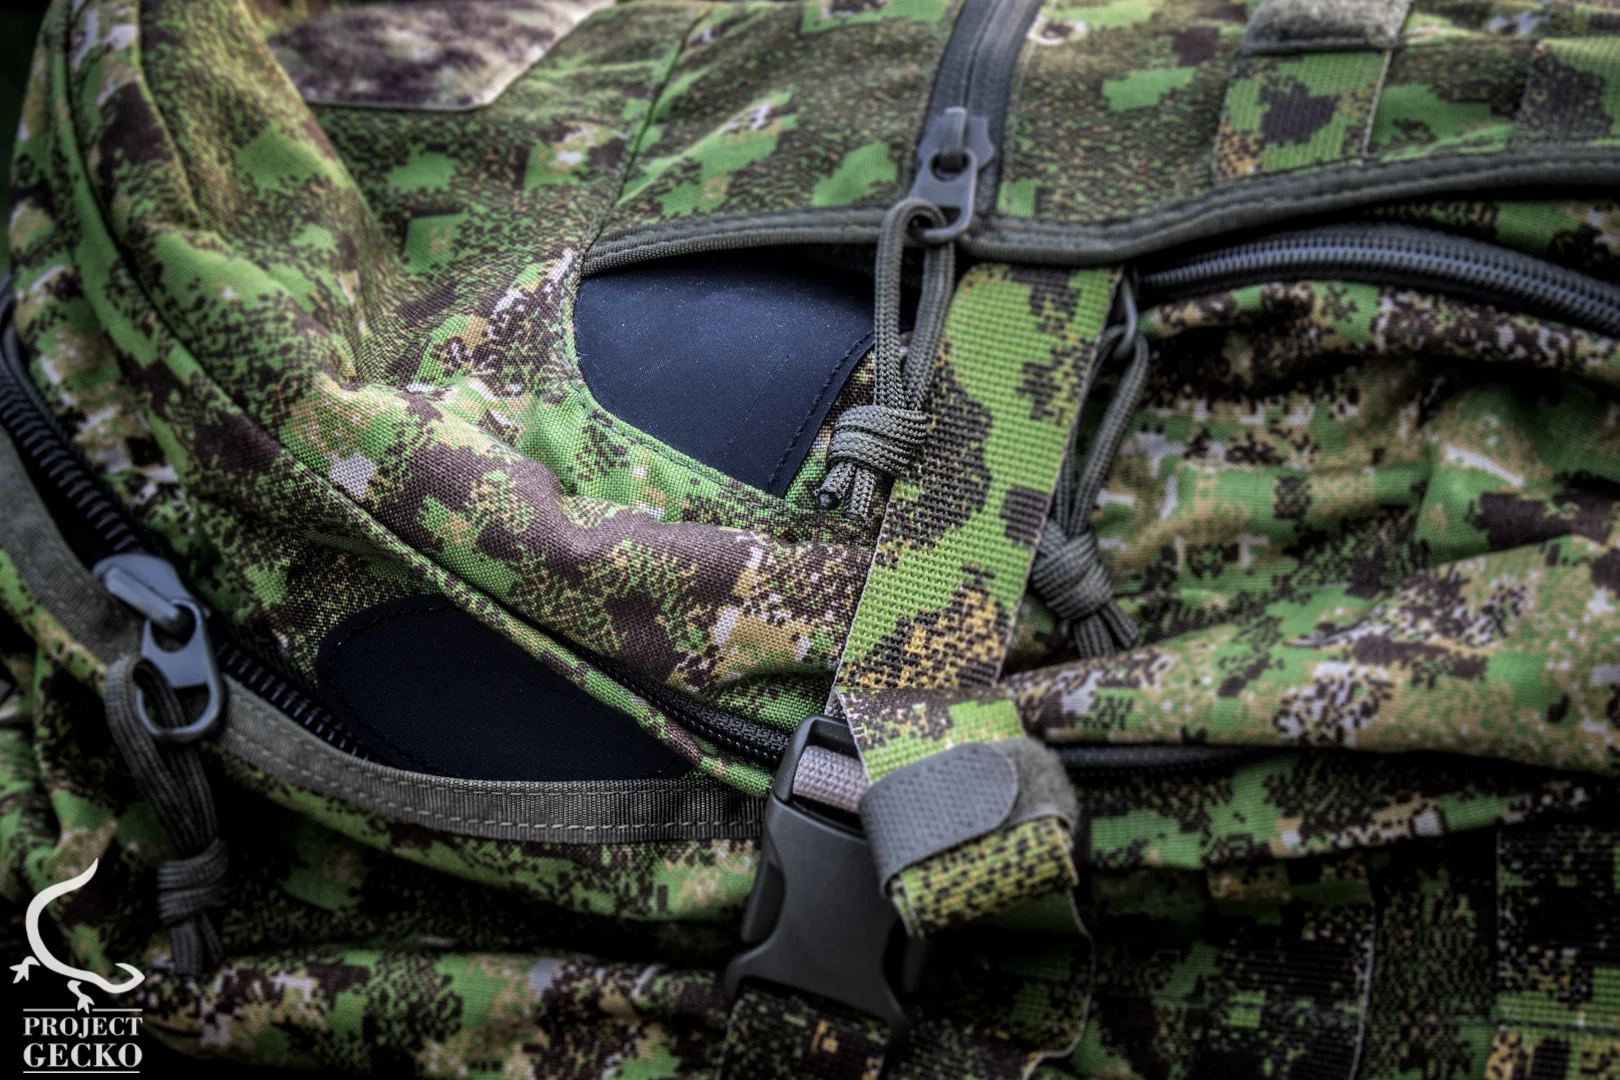
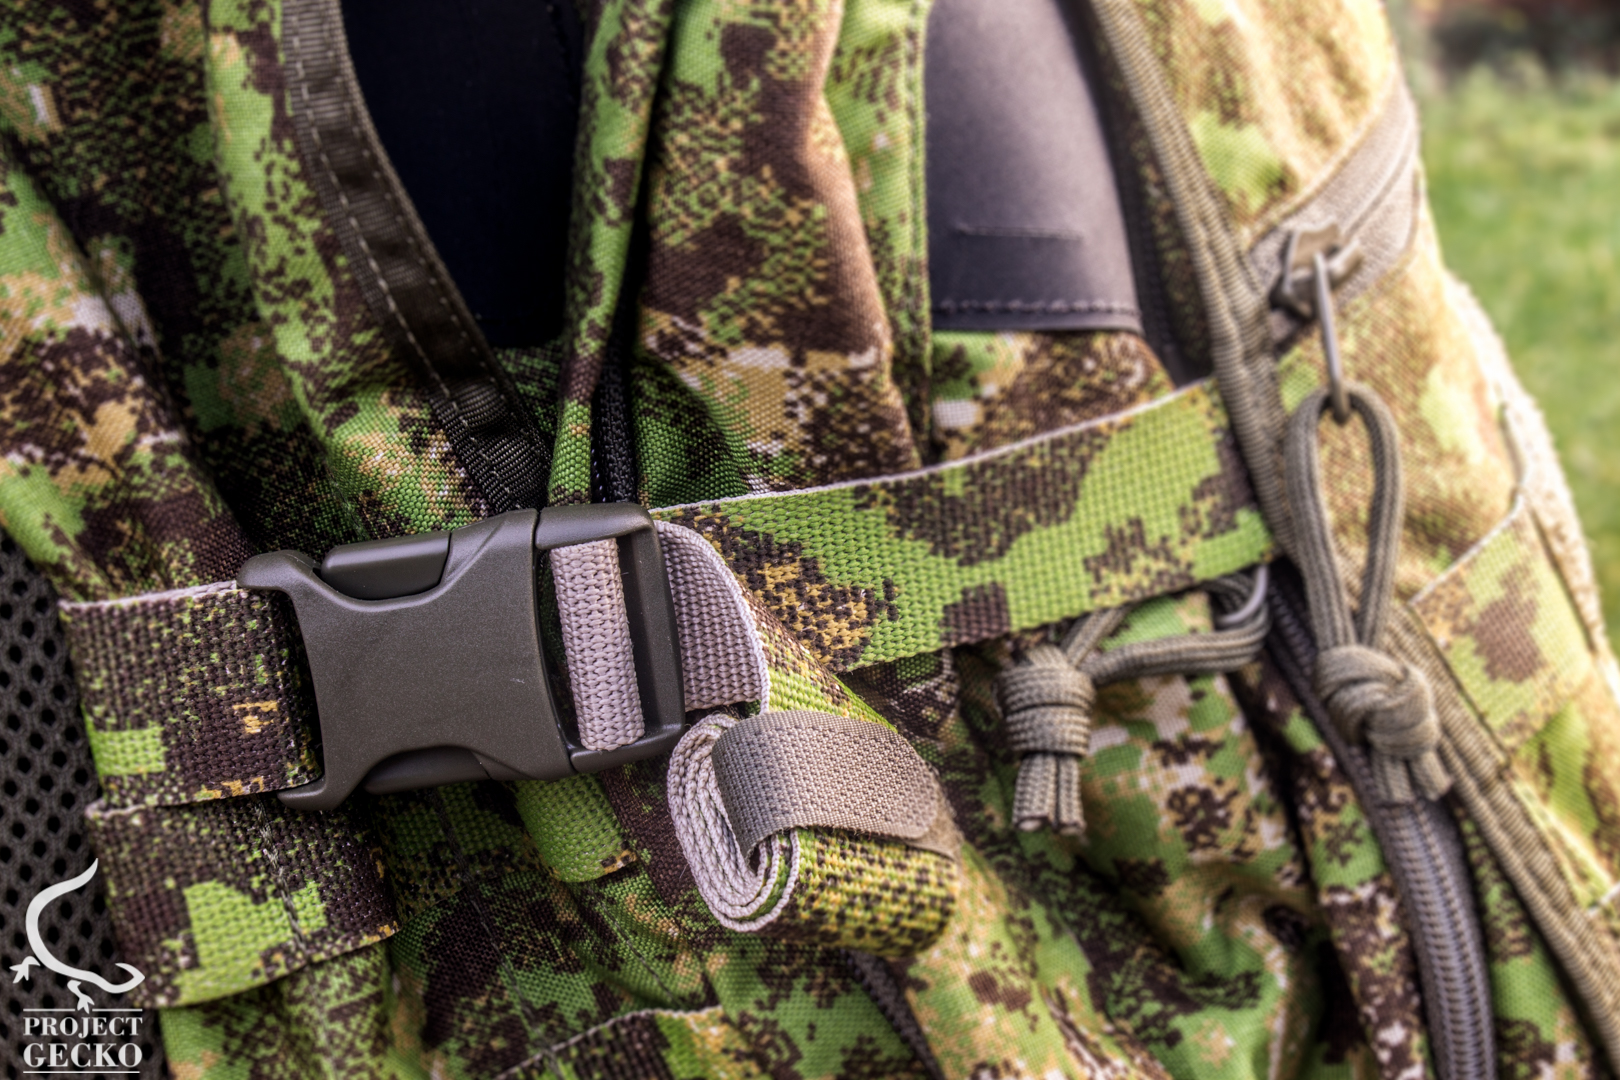
Adjustment
One of the interesting aspects in backpacks that most people, including soldiers, tend to forget is, how many things change in your backpack integrity once you speed up. The design ability, to actually give you the chance to properly adjust and set limits to your backpack fabric, is important.
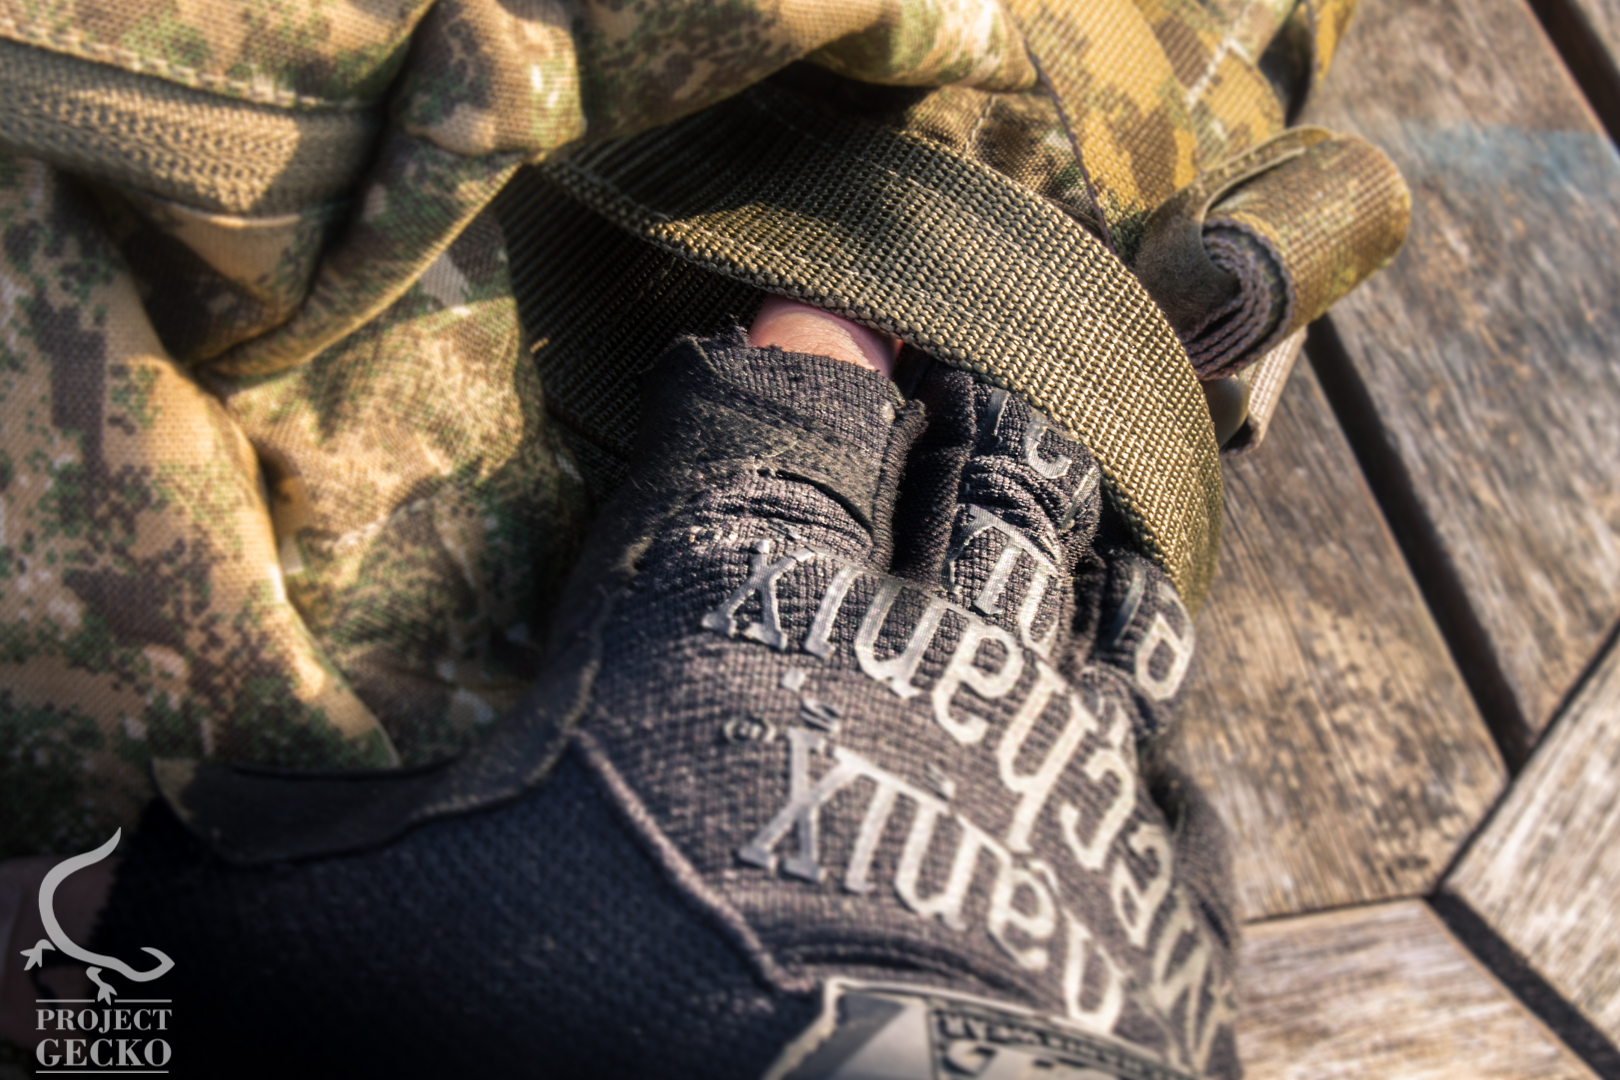
The external part resembles a flap which deploys 4 straps on each side for a maximum adjustment. Ideal when you want to prevent that “wobbling” feeling when running with a heavy payload, and some heavy MOLLE pouches in addition to that weight. It felt pretty much like an advantage soon as I filled up the backpack. Stuff was secured and tight – no bouncing, no noise, all tight and in its place.
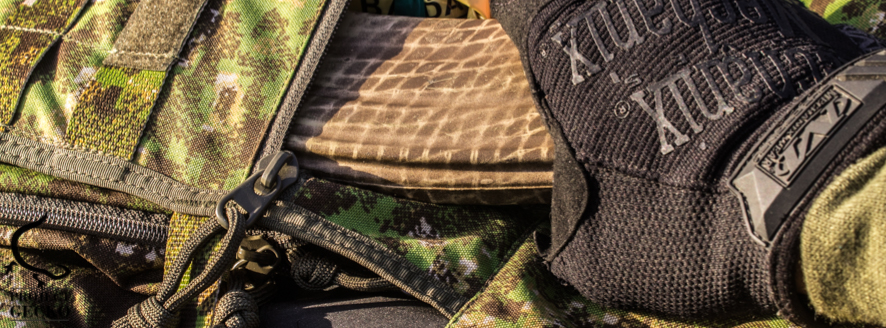
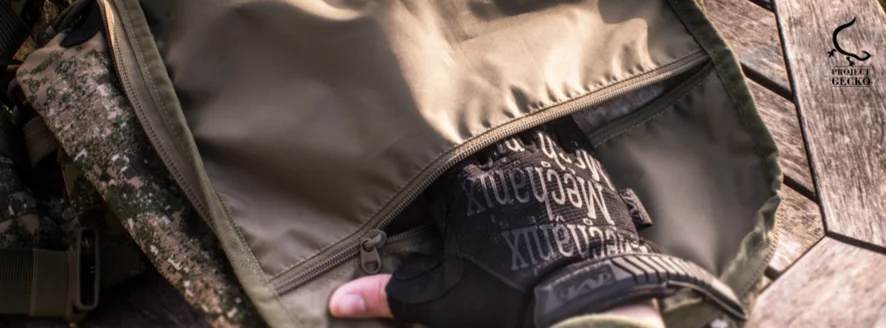
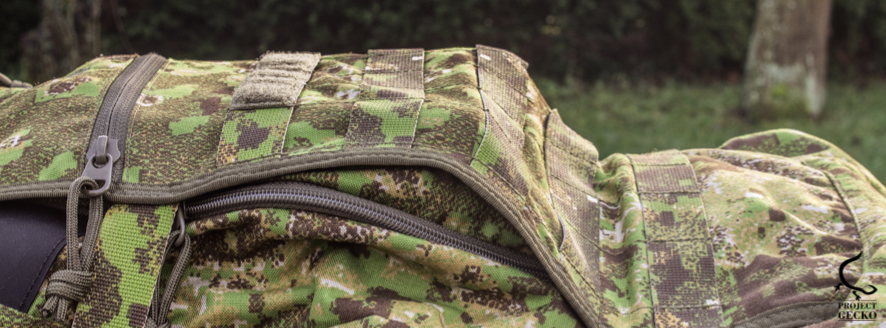
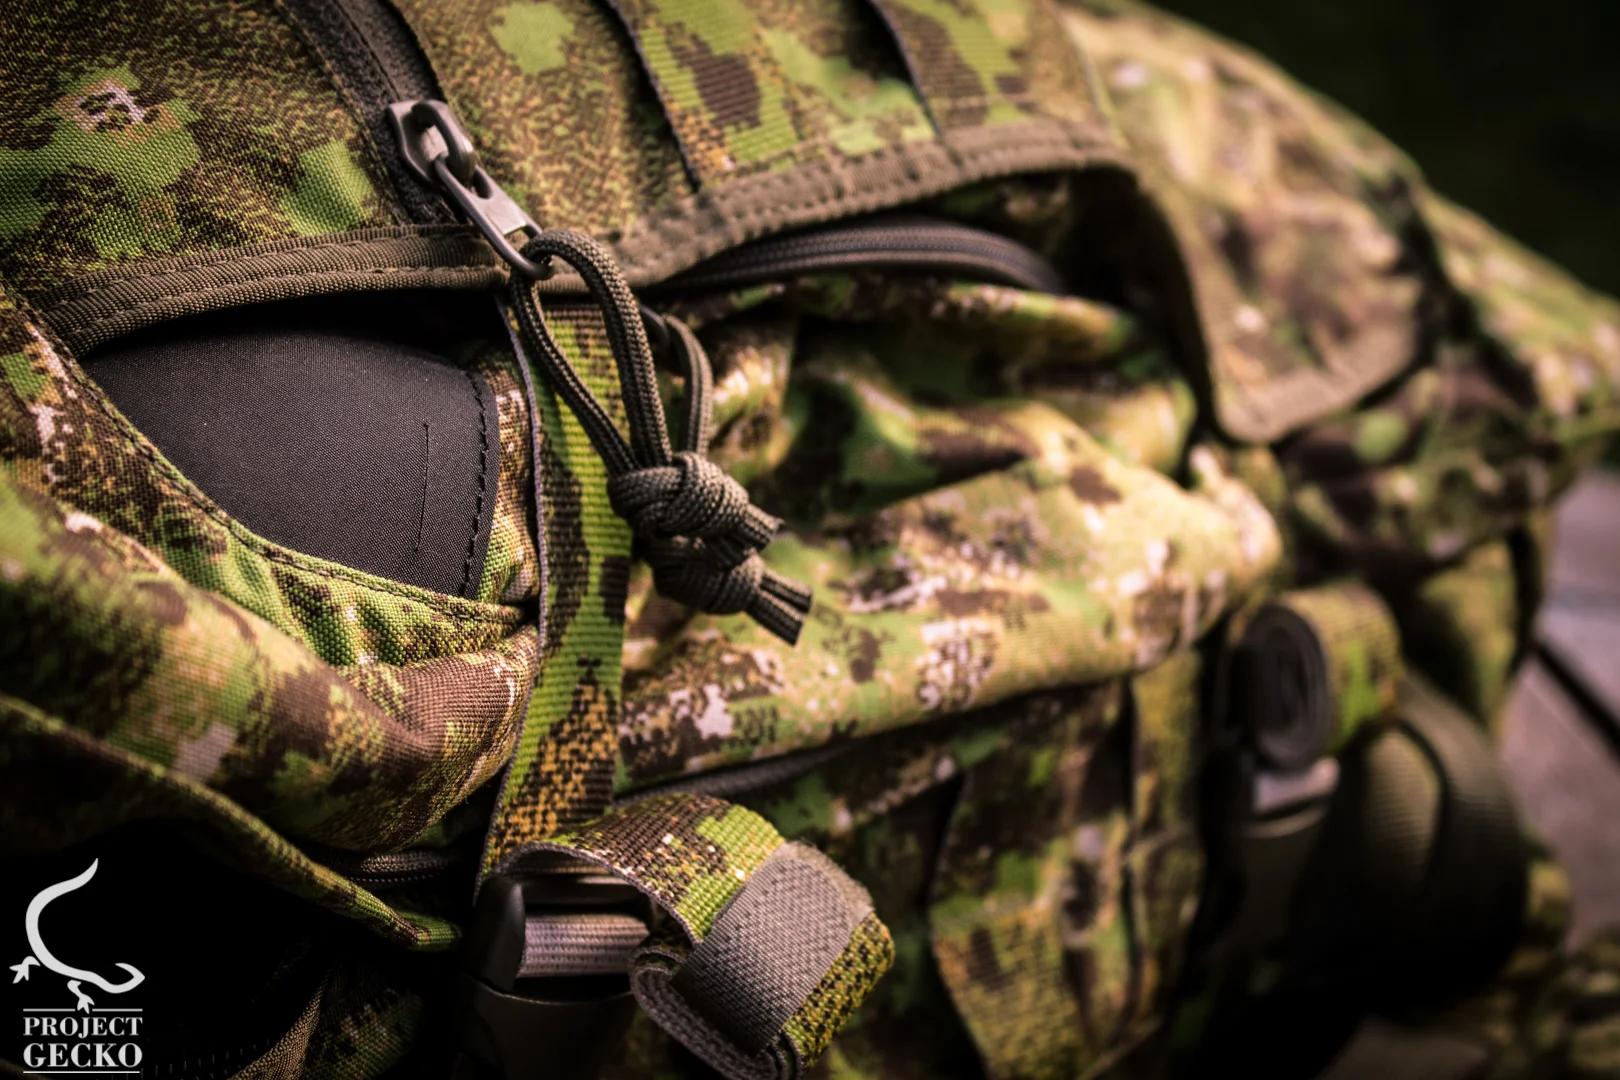
Access
While this might be already obvious in the pictures – a wide, comfortable access is something valuable. Especially during the winter when we use gloves. The access in the sub compartment goes both ways and is sealed with zippers. Simple, easy...and effective

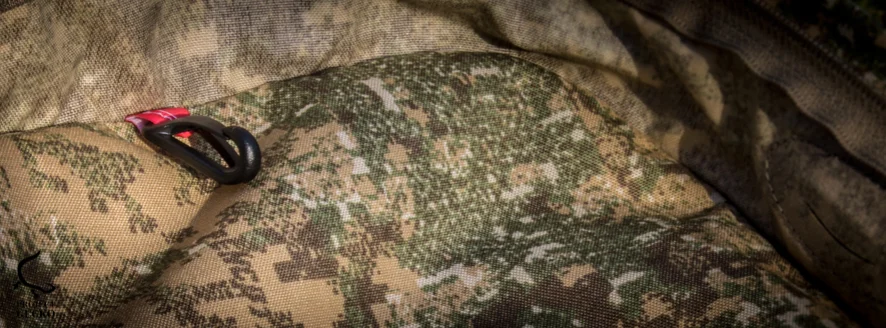
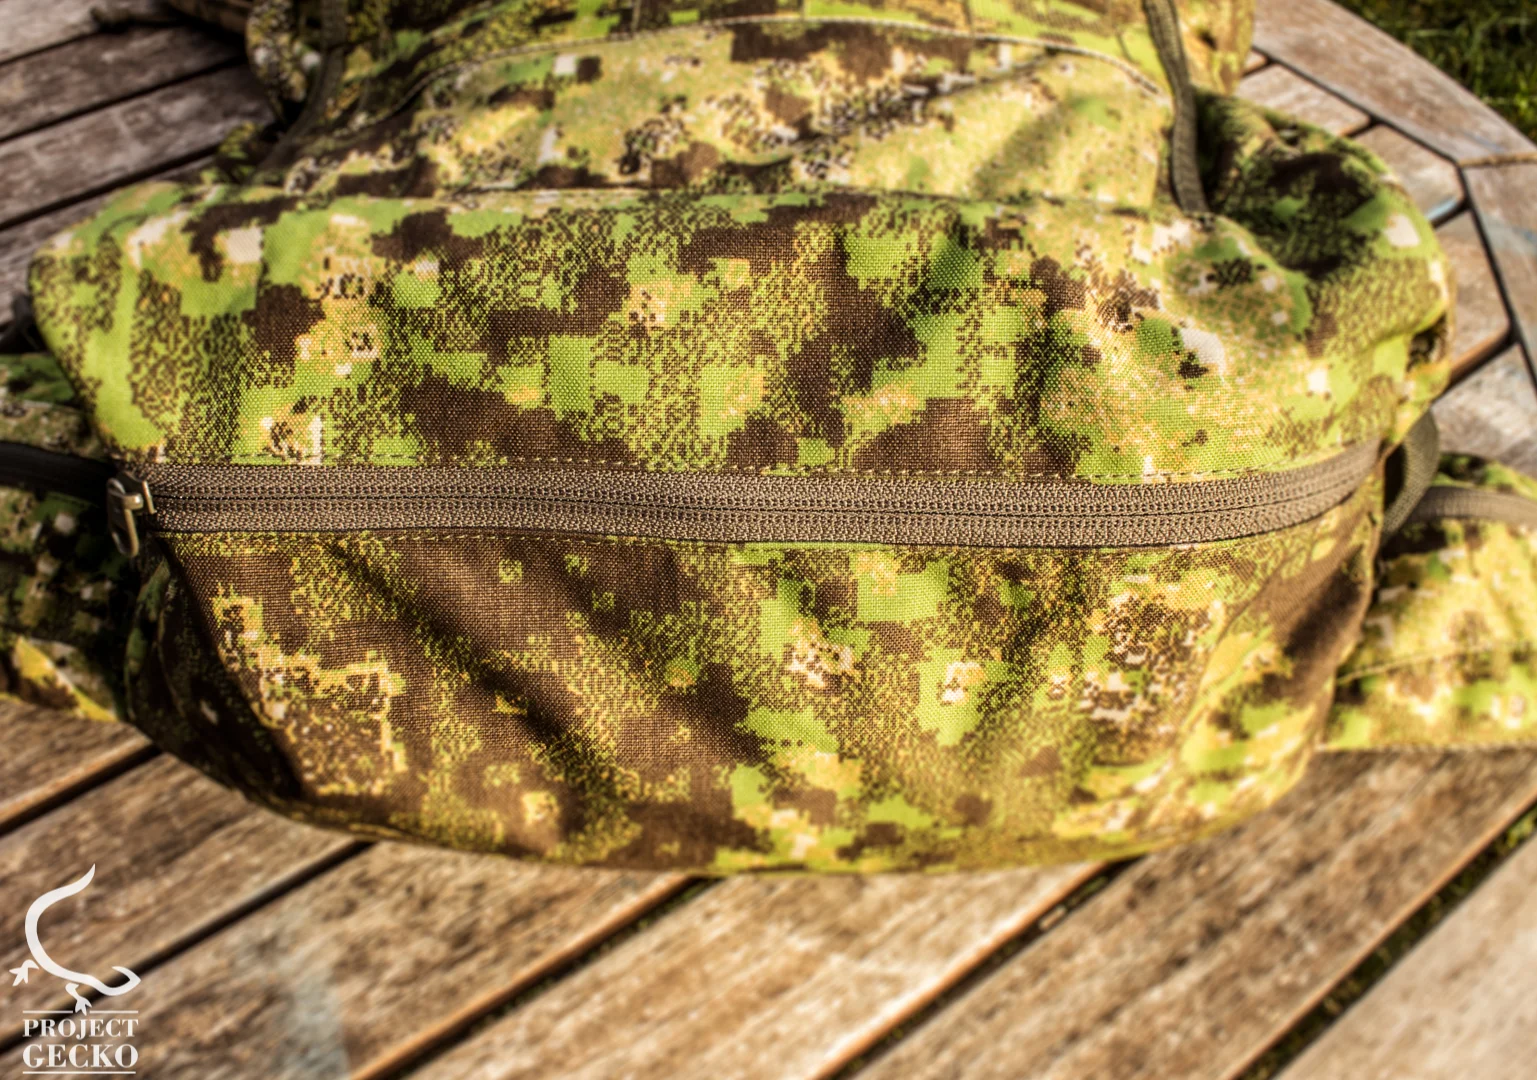
Rain cover \ Bottom compartment.

Ok, this is where I was really thrilled. The mission bag does contain a rain cover which is secured with clips. While a rain cover is nothing special, and its existence with backpacks was here before men stepped on the moon – the excitement came from one reason – detail.
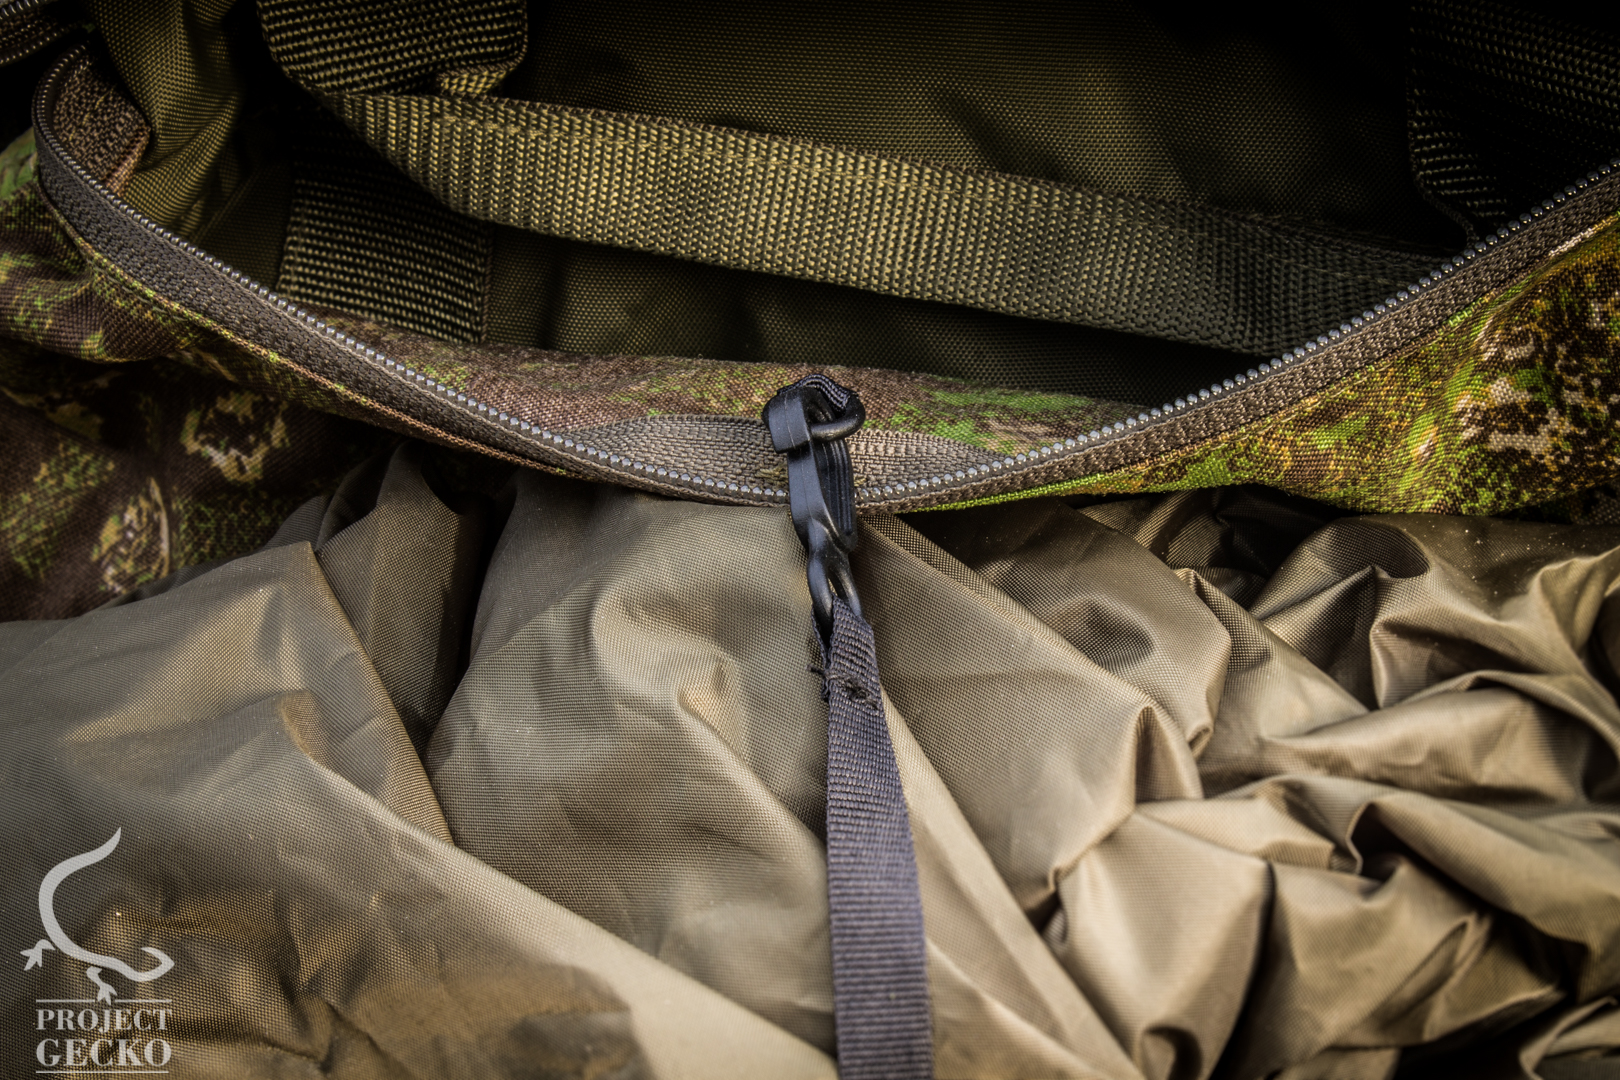
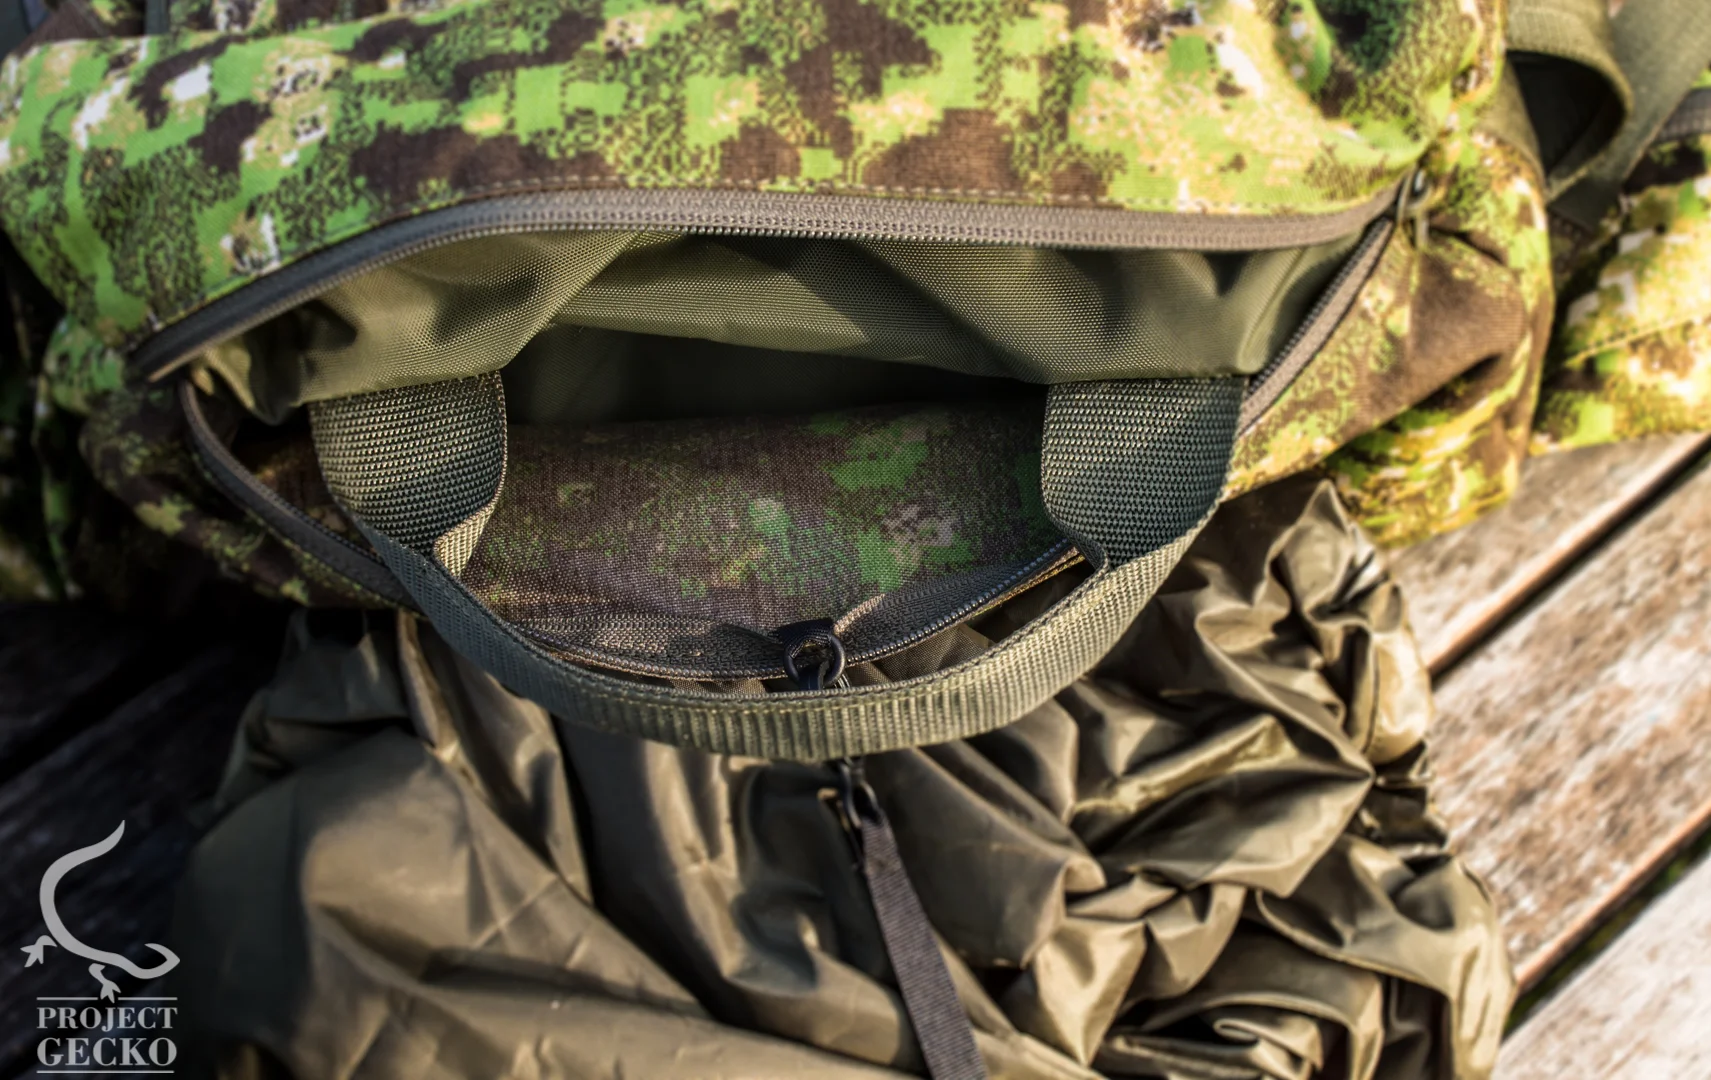
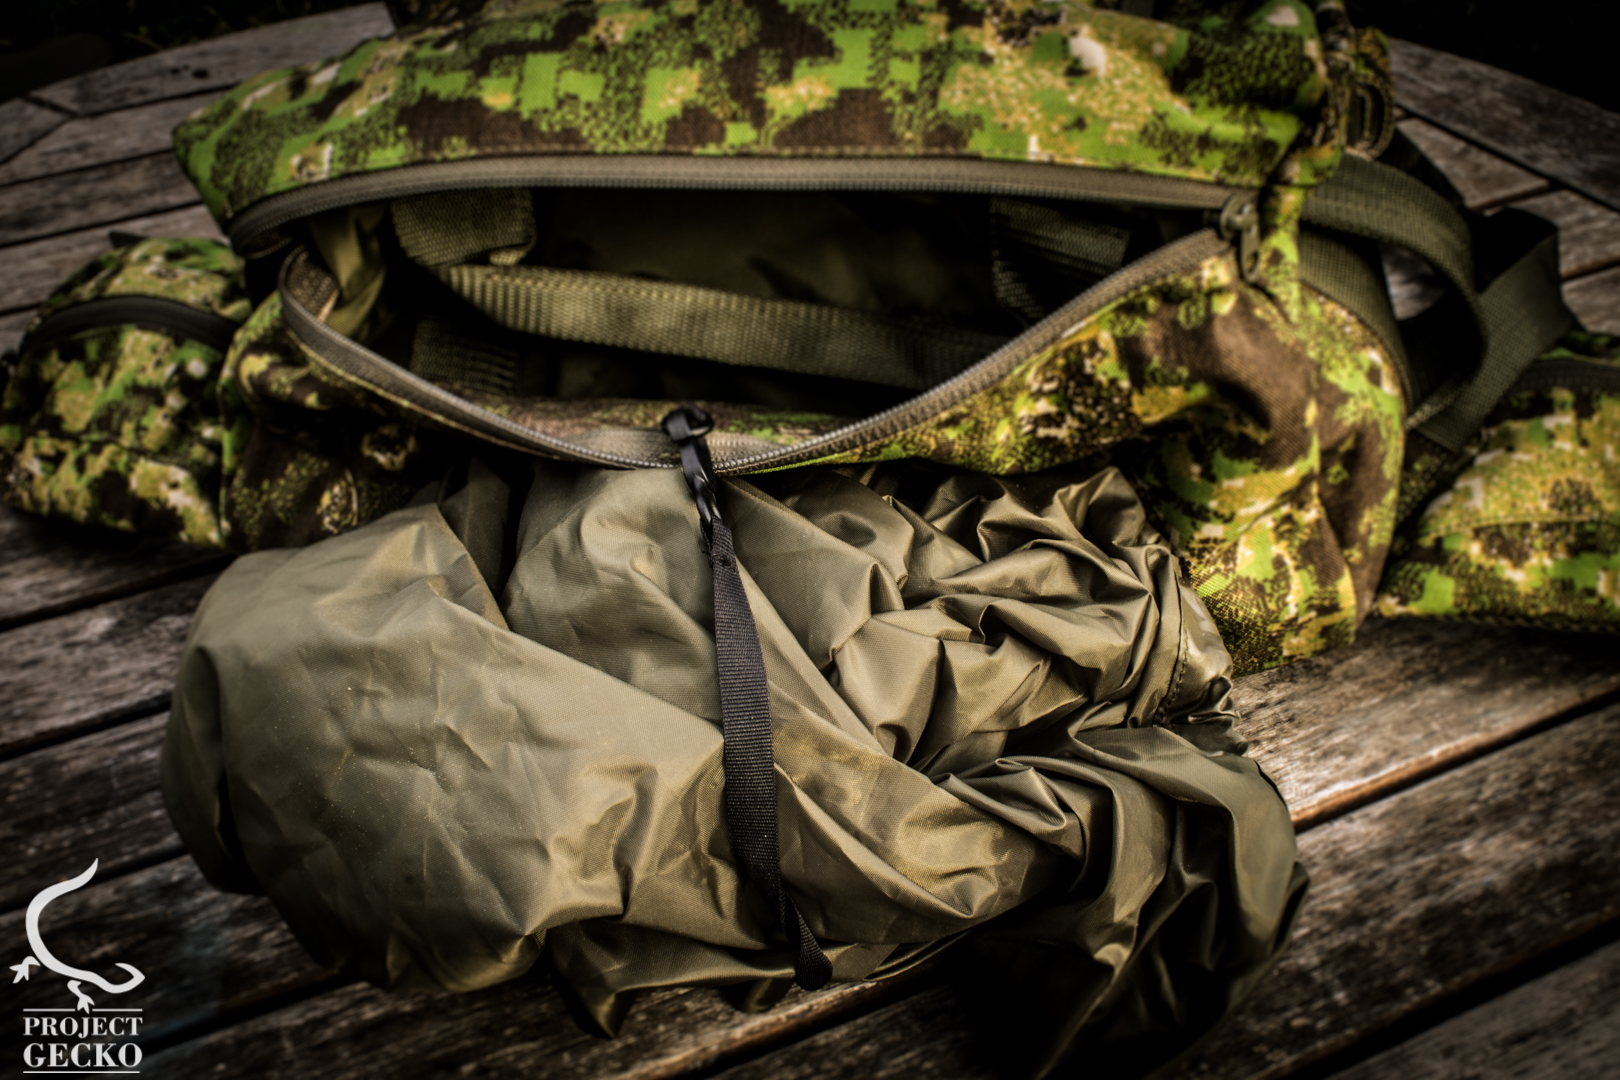
The quality is high, comfortable and also very solid....but most important – light. What really got me was, that instead of adding the rain cover, like most backpacks, inside the backpack , TT found a way to locate that rain cover WITHOUT compromising over storage space or access. The location is basically outside of the backpack and on its bottom. While this advantage is clear, it does not stop here. The train of advantages continues to the next point – using the rain cover.
While your first reaction to this would be like “I knew that already!” most people simply don´t know how to use their rain cover properly, in fact I see that all the time. Once the rain starts, people take out their rain covers and are trying to pack the backpack from above – which results in that funny cover slipping away. Add military utilities such as antennas, tripods etc – and its a pain in the ass. This relocation of the pouch in the bottom basically forces in some kind of a way the user to strap his cover on his mission bag from below to the top (like it has to be). In my opinion this is just comfortable location, period.The size of the rain cover is also decent. Pretty big, and able to deal with external MOLLE pouches, tripods and antennas.
Next part of this review will focus on the Back system of the mission bag.
Eliran Feildboy
CEO & FOUNDER PROJECT GECKO
WWW.PROJECTGECKO.INFO
WWW.GECKOSUPERIOR.COM